Architecture photography is not a record of everything that happened on site. It is a considered explanation of a completed project: how it sits in its setting, how people move through it, what the materials do in light and which decisions make the design distinctive. The best images feel simple because the planning behind them was not.
For architects, interior designers and project teams, a useful photography day begins well before the camera arrives. This guide sets out the practical choices that make the work more valuable across a portfolio, planning submission, publication, award entry and future client conversation.
Before the shoot
Architecture photography brief checklist
- State what the images need to achieve and who needs to see them.
- Identify the project’s key spaces, material details and relationship to its setting.
- Share plans, elevations or a simple annotated walk-through before the day.
- Agree access, occupancy, permissions and one on-site point of contact.
- Prioritise essential views, then leave space to respond to the light and site.
- Confirm the intended use, deliverables and image licensing in writing.
1. Start with the story the project needs to tell
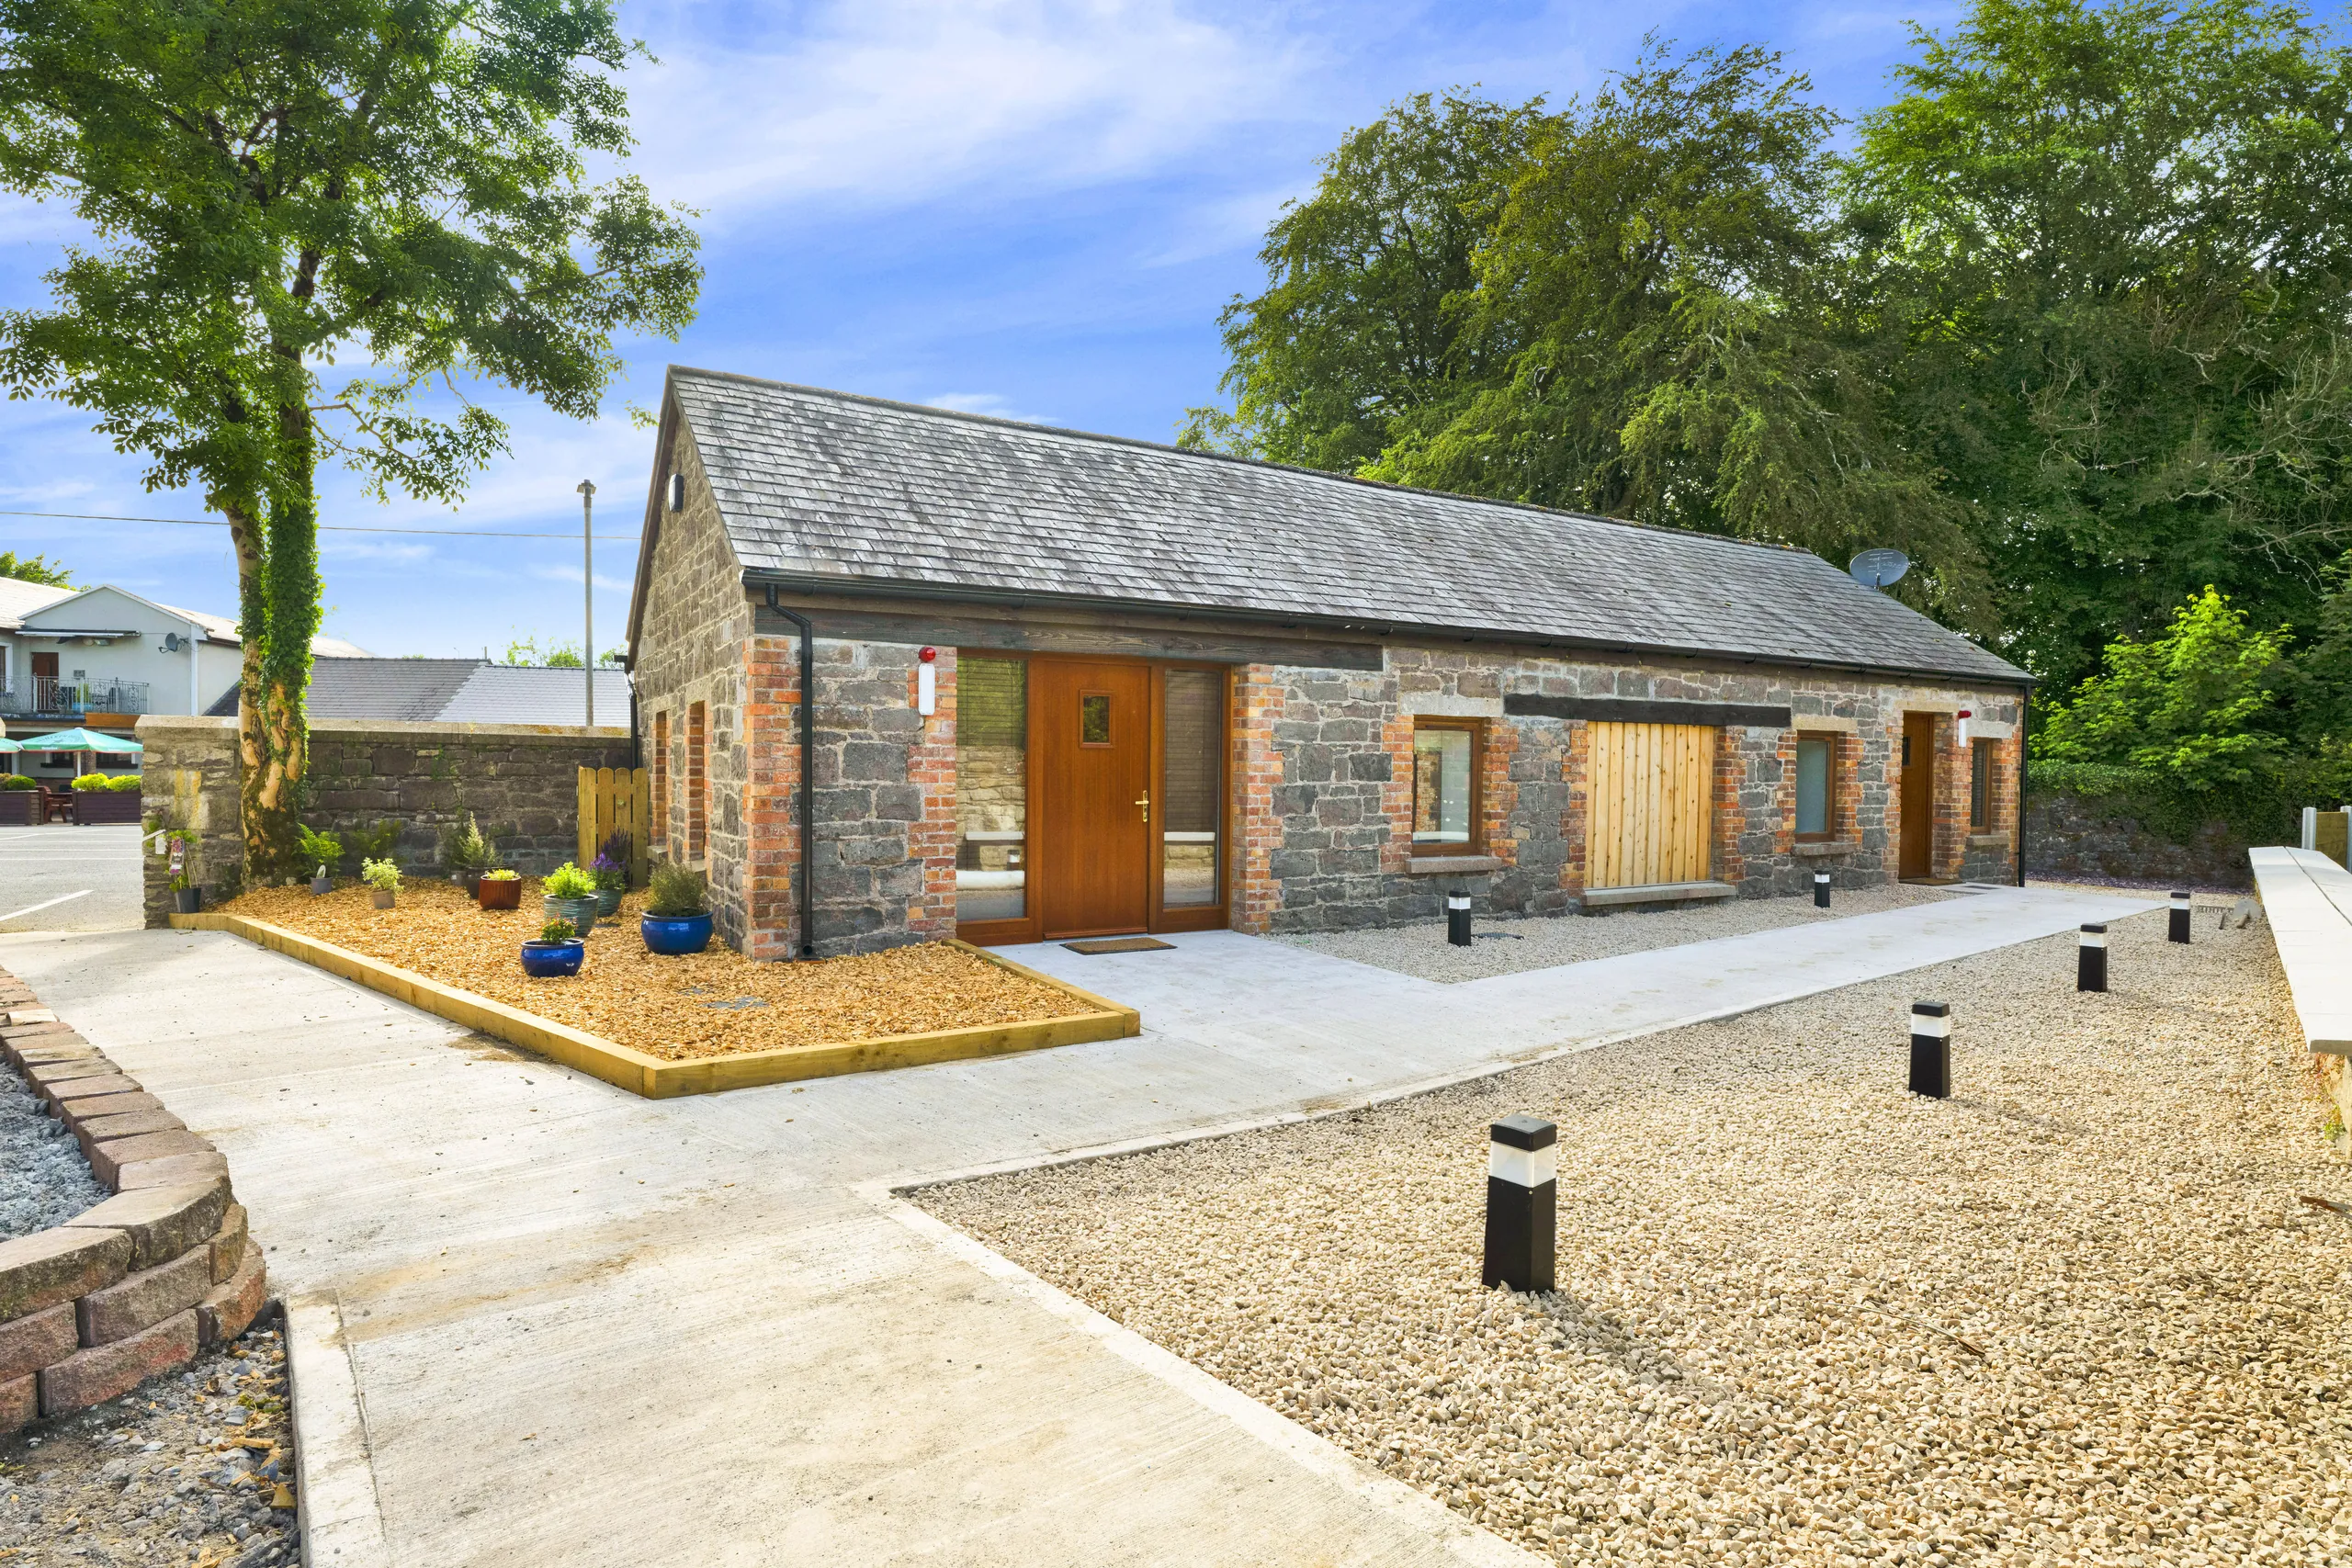
Before discussing lenses or a shot list, decide what the project needs to communicate. A carefully restored stone building, a light-filled extension, a workplace or a hospitality interior each asks the viewer to notice different things. The purpose might be to demonstrate a planning response, show a material palette, explain a difficult site, attract a client in a similar sector or document an award-worthy detail.
Write that purpose in one or two sentences. Then identify the evidence the images need to provide. A small list might include the arrival sequence, the main external form, the relationship between two rooms, a key threshold, daylight at a particular point and two material details. This is more useful than asking for “lots of images”, because it gives the photographer a reason to make one view stronger than another.
The American Institute of Architects’ project photography reference guide makes the same practical point: mark intended interior and exterior angles on drawings, then keep an open mind for worthwhile views discovered on site. Planning the essentials protects the project story without turning the shoot into a rigid checklist.
2. Walk the route before choosing frames
A building is rarely understood from one elevation. Walk the route a visitor takes, from the approach to the threshold, through the principal spaces and out to the points where the project meets its surroundings. Notice what changes: scale, compression, brightness, texture, sound, views and the relationship between old and new. Those transitions often carry the design idea more clearly than a collection of isolated room photographs.
During the walk-through, make a short priority list in four groups: establishing views, spatial views, detail views and context views. Establishing views show where the project is. Spatial views explain how rooms or volumes connect. Details show the quality of the craft. Context views place the building among landscape, street or neighbouring structures. A balanced selection gives a viewer enough information to understand the work without feeling that they are reading a catalogue.
Keep the list ranked. If weather changes, access is limited or a room is occupied, the team should know which images must happen and which are useful extras. That makes decisions on the day calmer and keeps the available time focused on the project’s strongest evidence.
3. Use light to reveal the design, not just decorate it
Light can make the same building appear flat, sculptural, warm or severe. That is why timing belongs in the brief. Review the orientation of the principal façades, the way daylight enters the key rooms and the elements that will cause glare or deep shadow. A photographer can then propose the time of day that best serves each view, rather than hoping every image works in a single window.
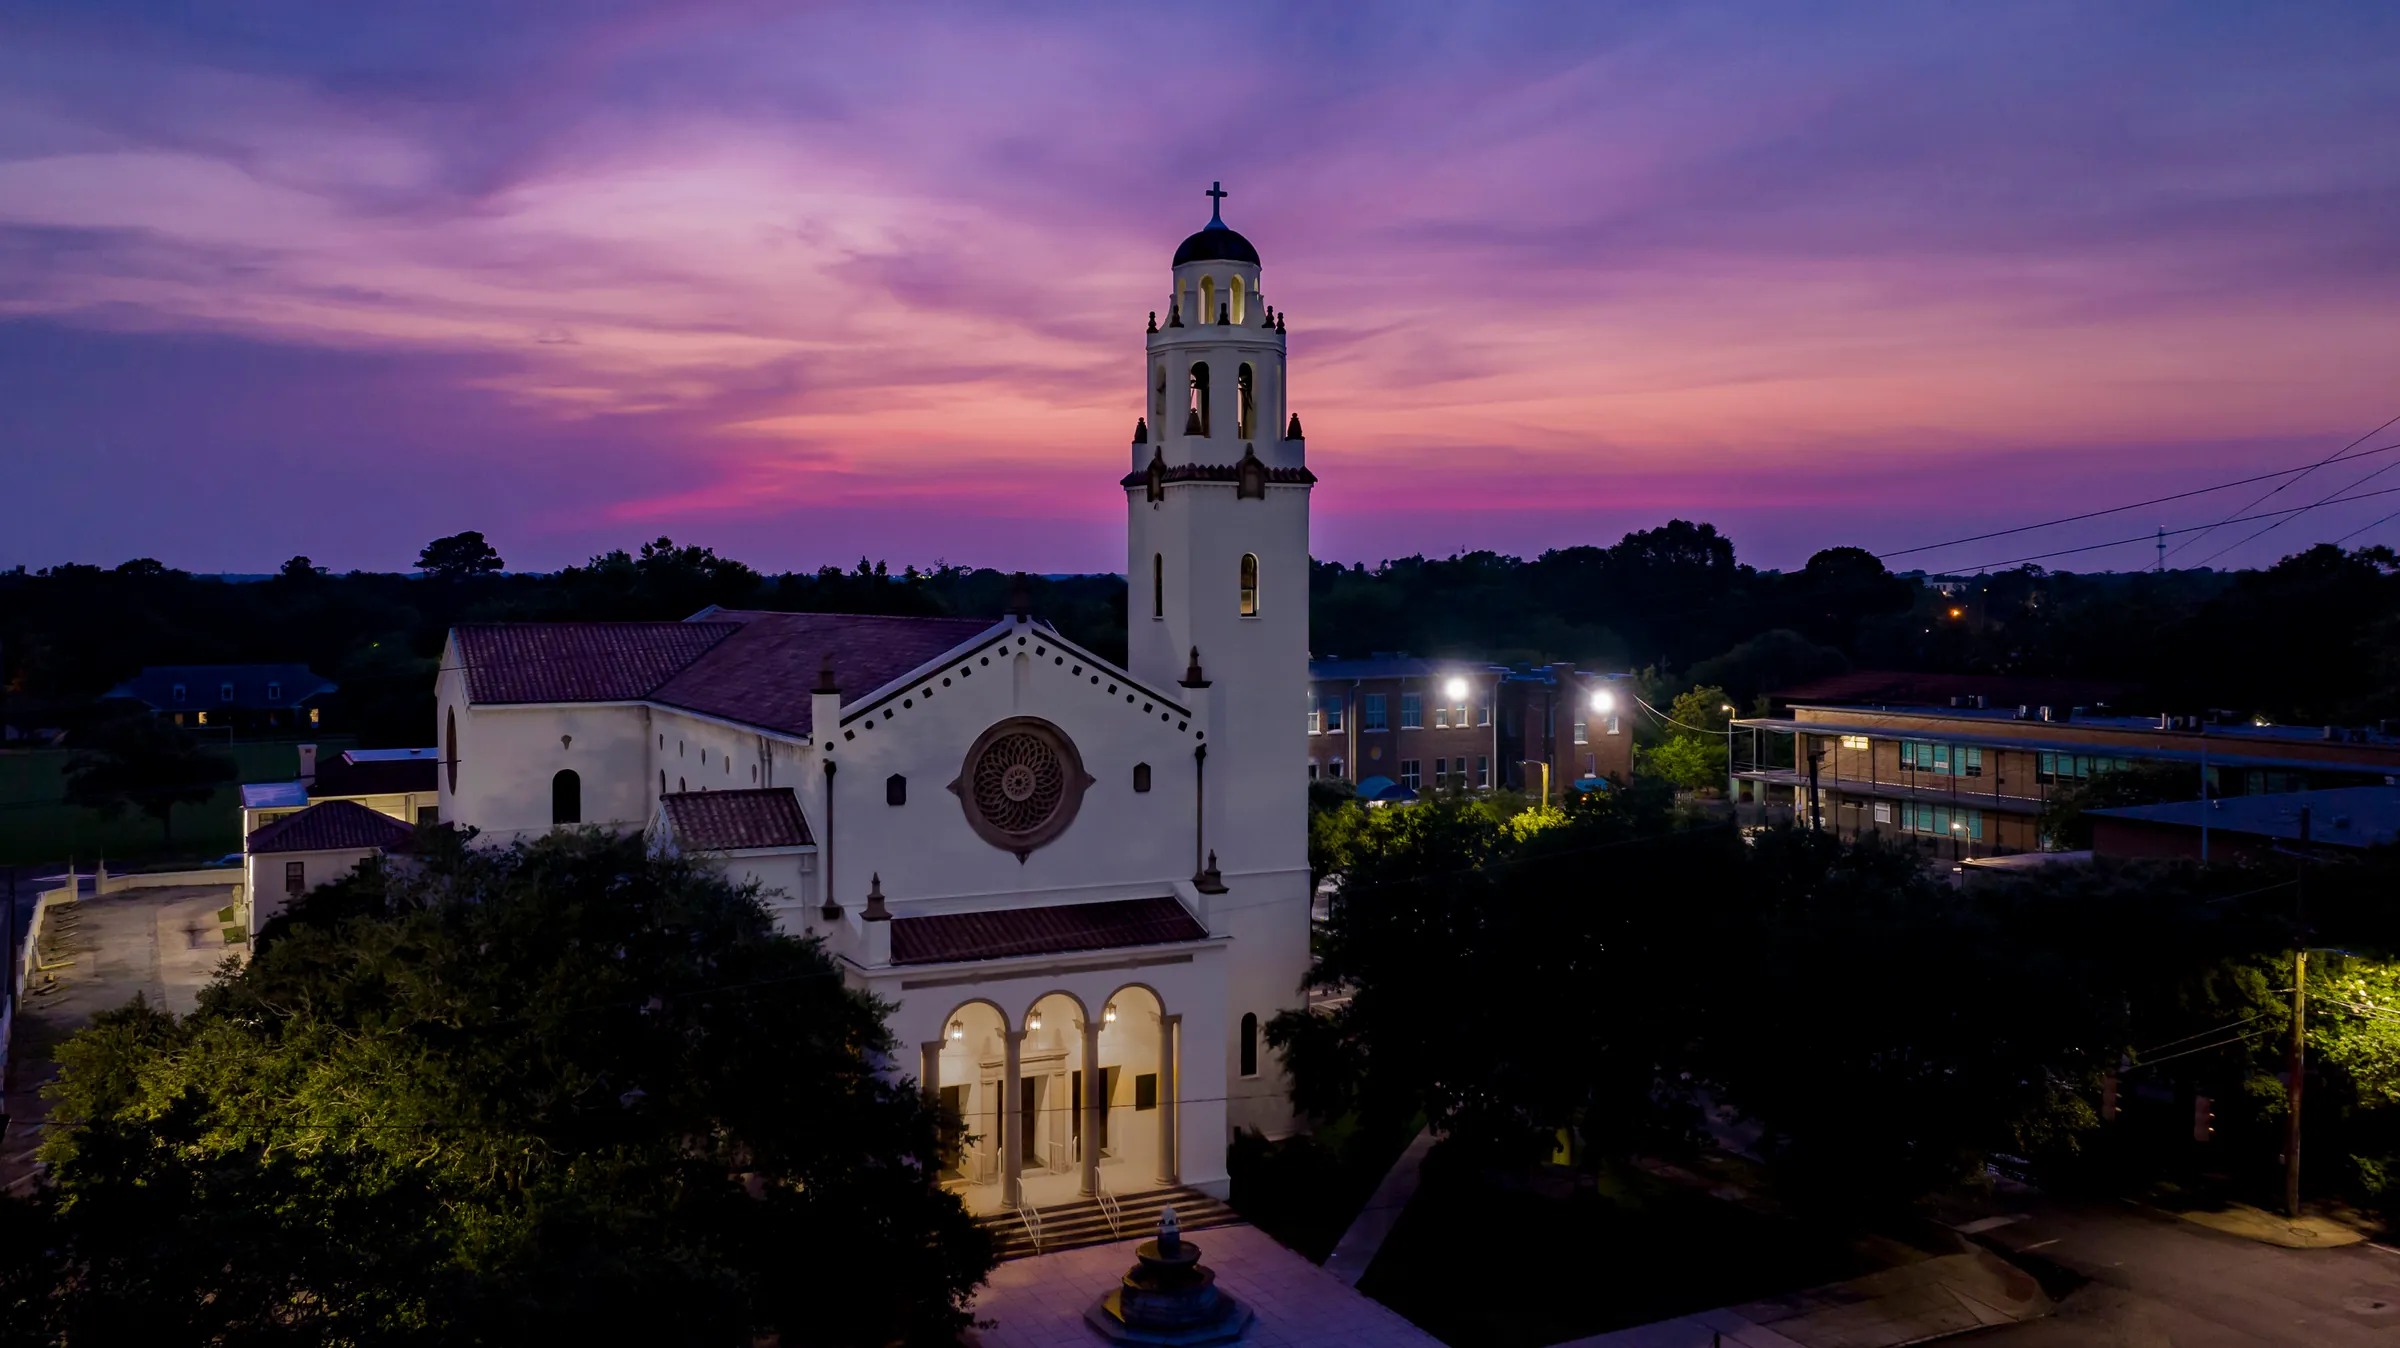
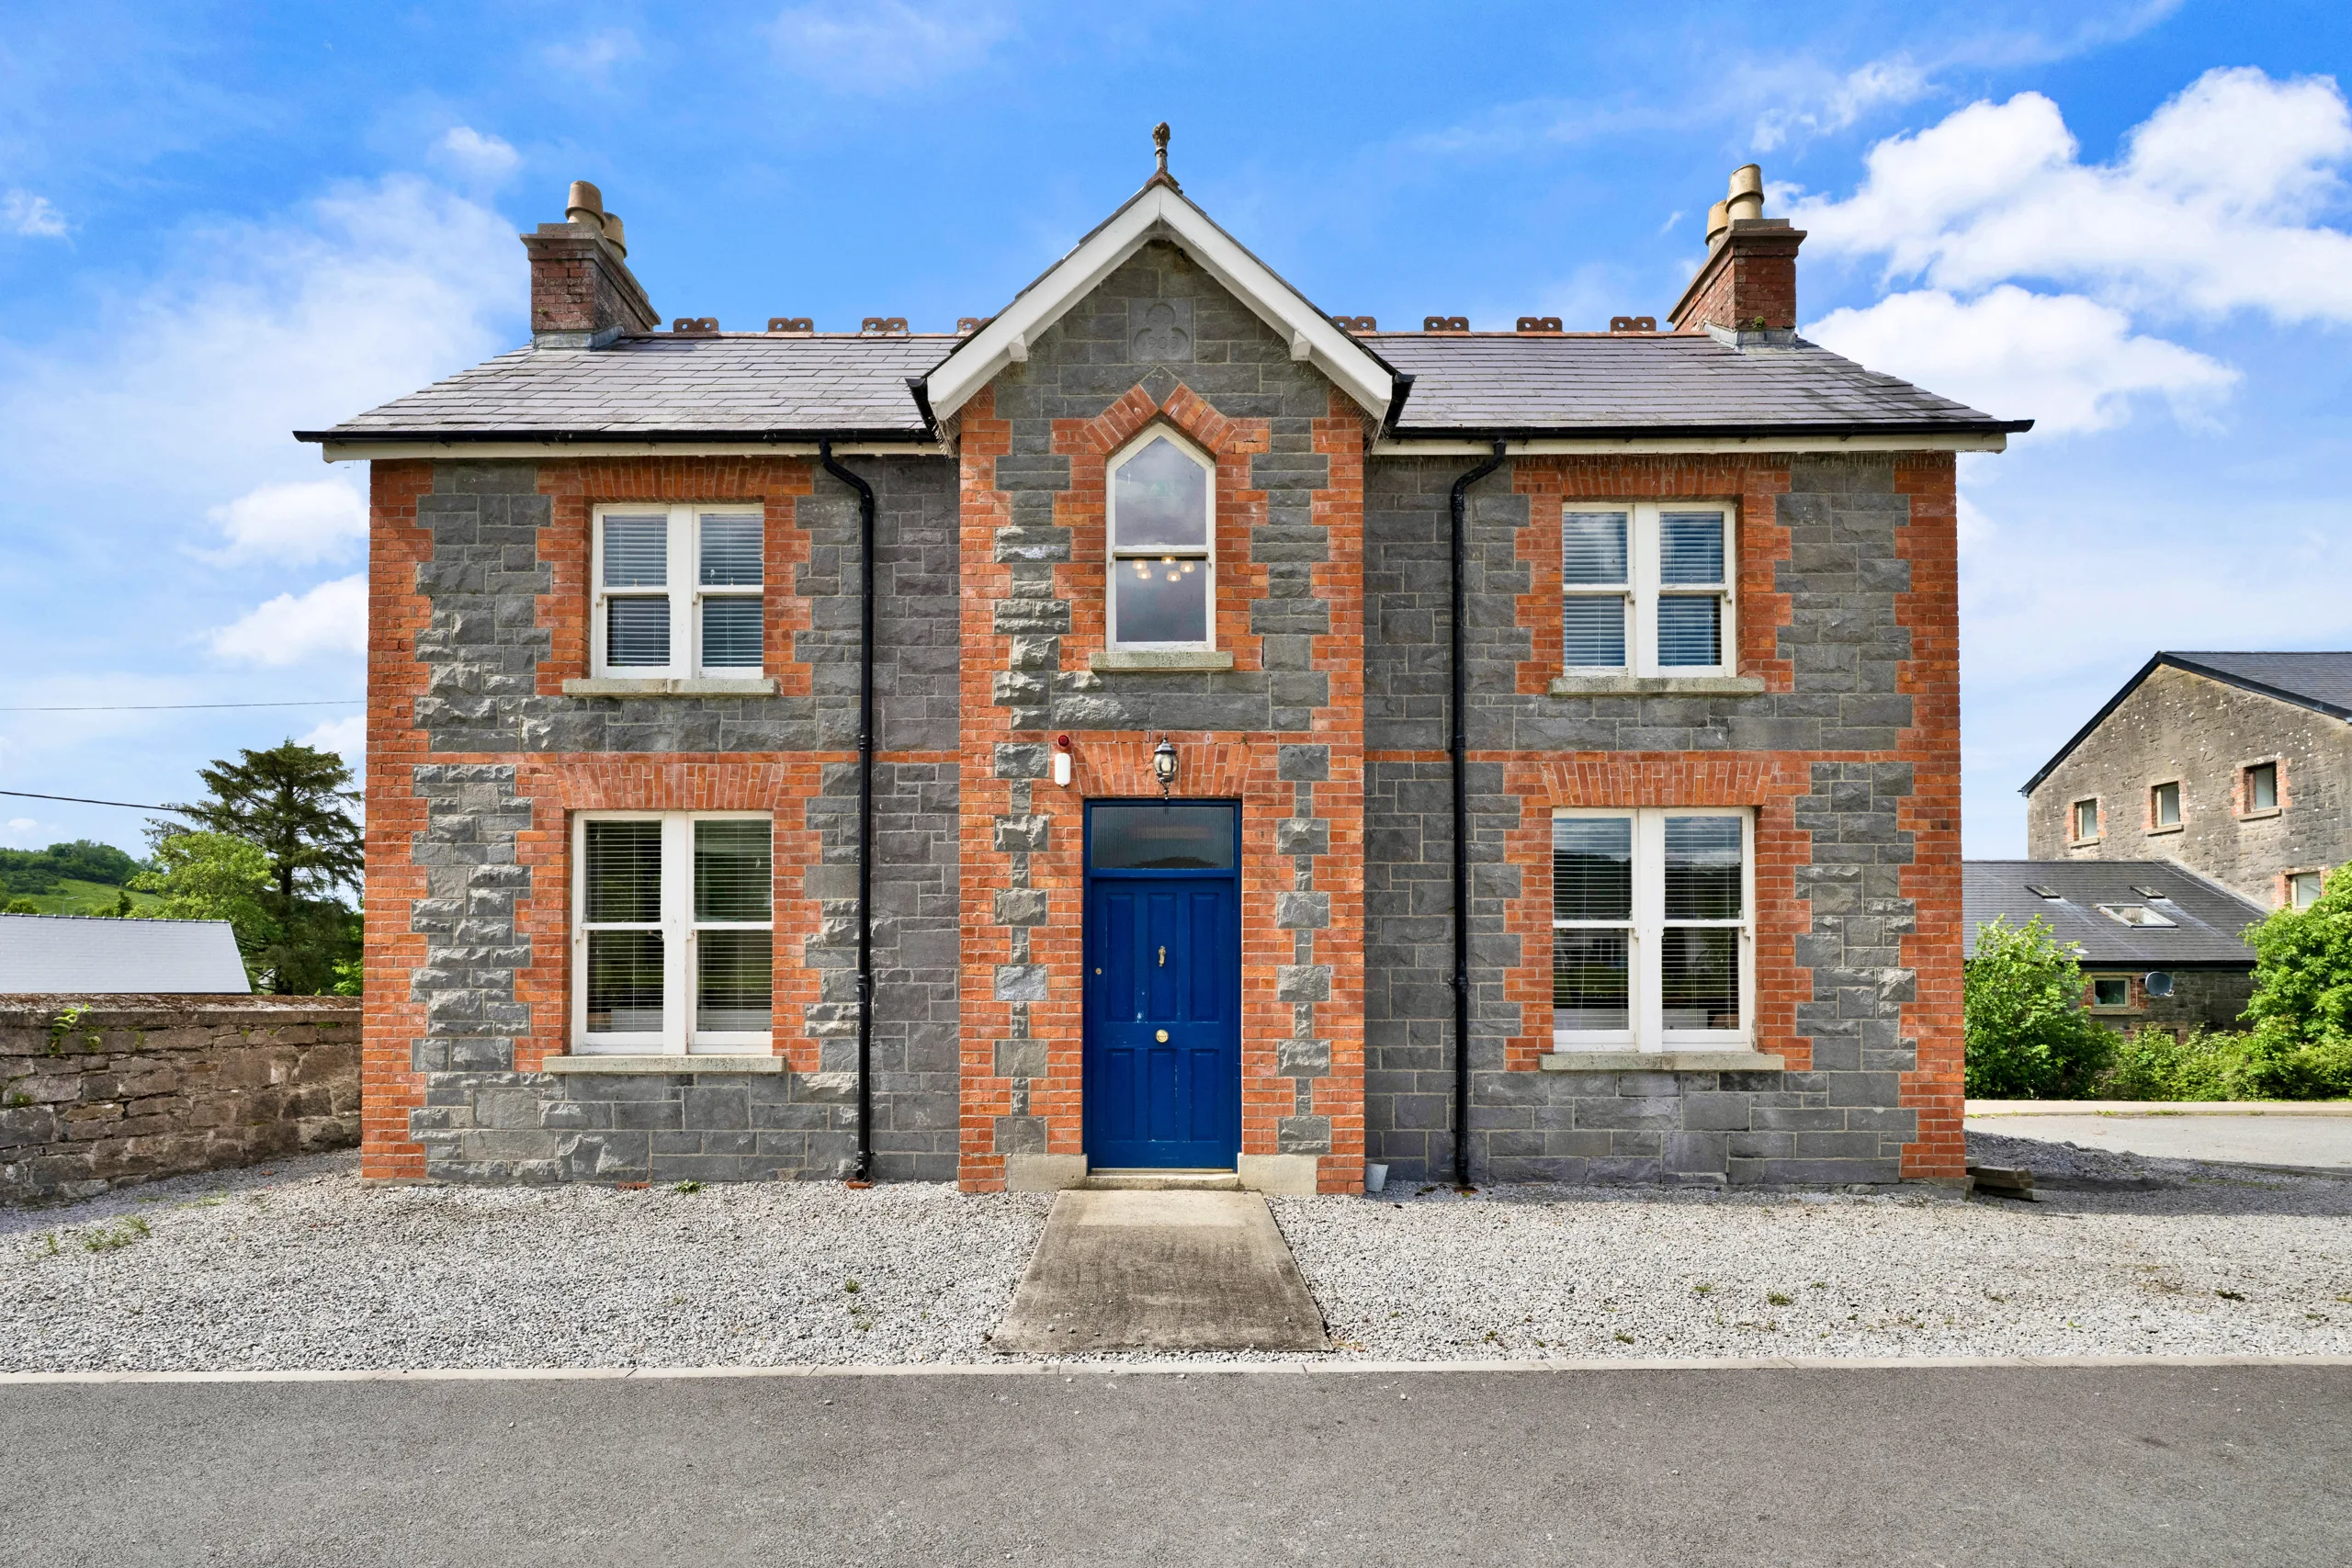
Low side light can reveal the relief of brick, timber, stone and expressed structure. Overcast weather can be excellent for interiors, details and façades where even colour matters more than dramatic shadow. Blue hour can work beautifully when internal or façade lighting is part of the project, but it is not automatically required. The image should earn the mood by showing something real about the building.
For interiors, look at the colour temperature and condition of visible light fittings before the shoot. Replace failed lamps, remove temporary fixtures and decide which lights should be on. The AIA guide also recommends coordinating the timing of interiors around daylight, and checking that rooms are clean, functional and unlocked before the photographer arrives. Small practical steps prevent the visual story being derailed by things that are easy to fix.
4. Keep perspective deliberate
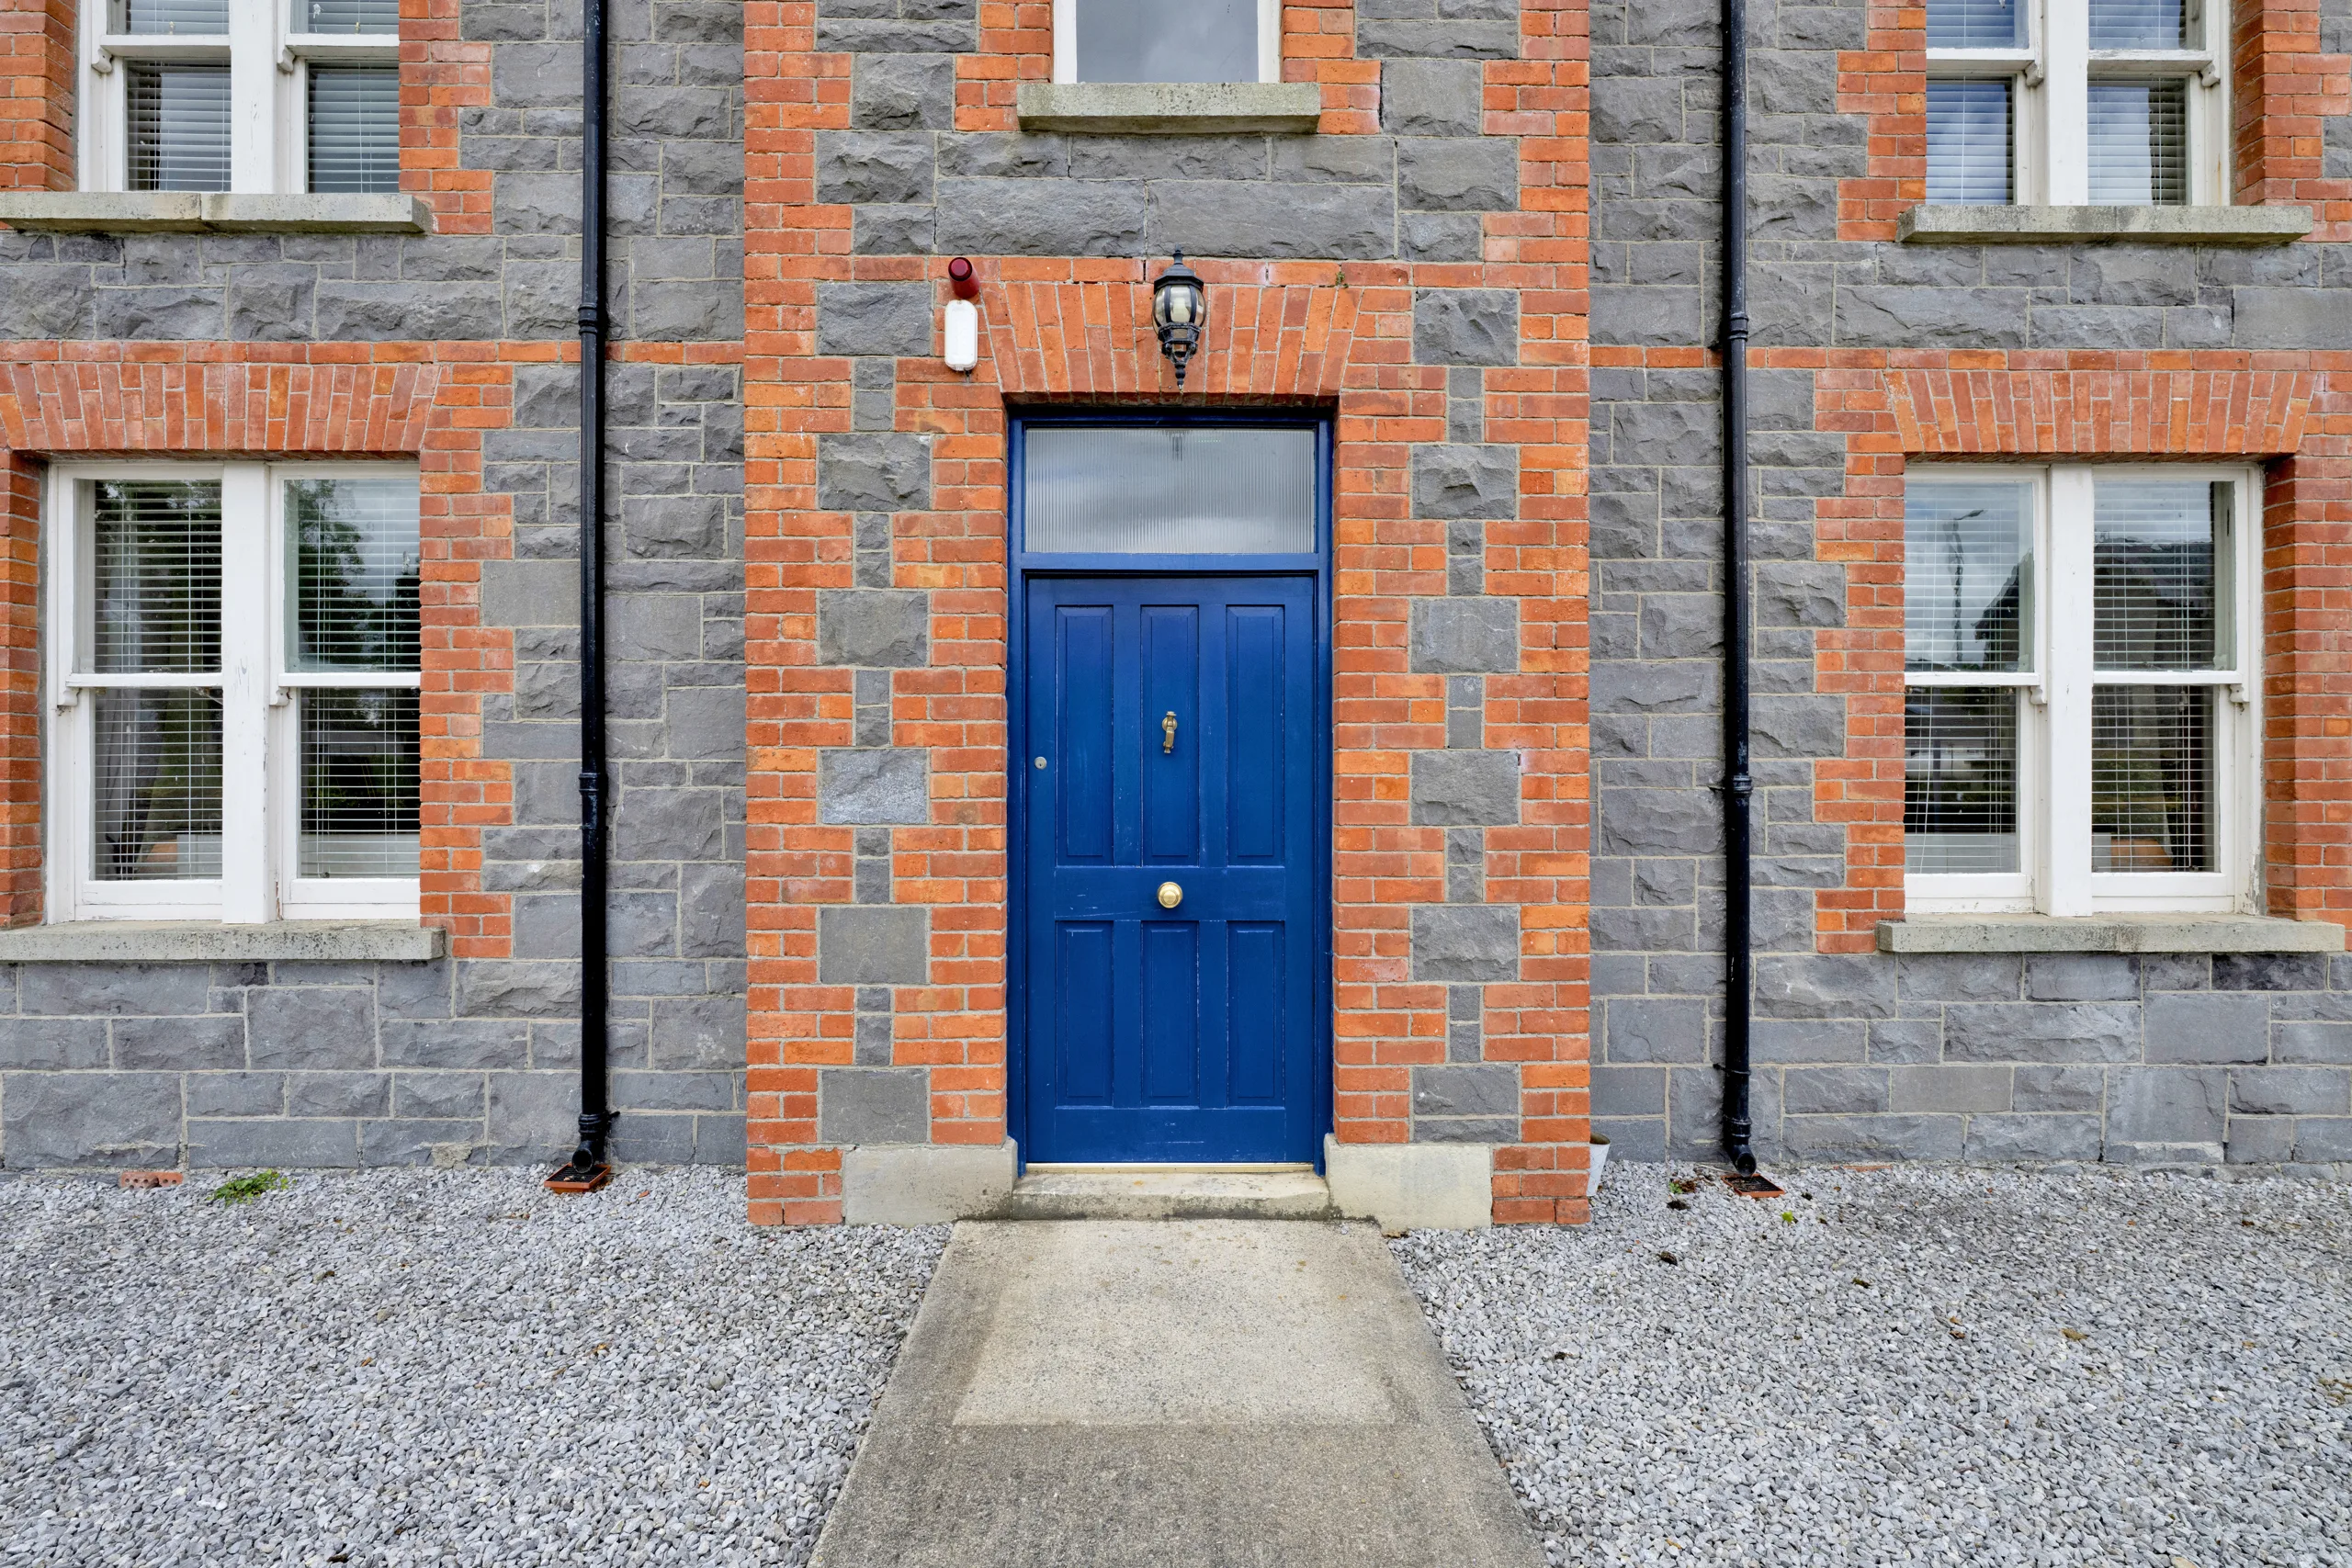
Perspective is not a technical afterthought. It changes how a building feels. A symmetrical front elevation can make order and proportion the subject. An oblique view can reveal depth and a relationship between two façades. A tighter detail can say more about character than a wide image that tries to hold the whole building at once.
Ask whether verticals should read as level and whether a dramatic angle is an intentional expression or simply a compromise. Architectural photography often benefits from keeping the camera level and choosing a more useful position, rather than tilting up until the building appears to lean. As the architectural-photography guidance from WhiteWall explains, a change of position, a detail view or a side view can often avoid unwanted converging lines before corrective work is needed.
The same restraint applies inside. A very wide view can make a compact room look unfamiliar when a visitor arrives. Give the photographer room to choose a perspective that describes the proportions honestly. The strongest project images feel generous and clear, not technically impressive at the expense of trust.
5. Prepare the spaces for the way they will be seen
Styling is not about disguising the building. It is about removing visual noise so the design can be read. Walk through each priority space slowly and notice the temporary items that will pull attention: cables, cleaning equipment, cartons, spare furniture, temporary signs, cluttered desks, half-finished landscaping or a lone item of protective equipment. Remove what can be removed, and record anything that must remain so it can be handled consistently across the image set.
Furniture and objects should help a viewer judge scale, use and atmosphere. A chair by a window, a table set at the right proportion or a modest arrangement on a kitchen island can make a space legible. Too much styling has the opposite effect. It competes with the architecture and can date the photographs faster than the project itself.
Agree how people should appear, if at all. Occupation can make a school, workplace, hospitality project or home feel lived in, but it changes the permissions and coordination required. If people may be recognisable, arrange releases in advance and make sure everyone understands where the photography may be used. The same principle applies to client confidentiality, security restrictions and any artwork or branding that should not appear.
6. Include context and details in the same visual system
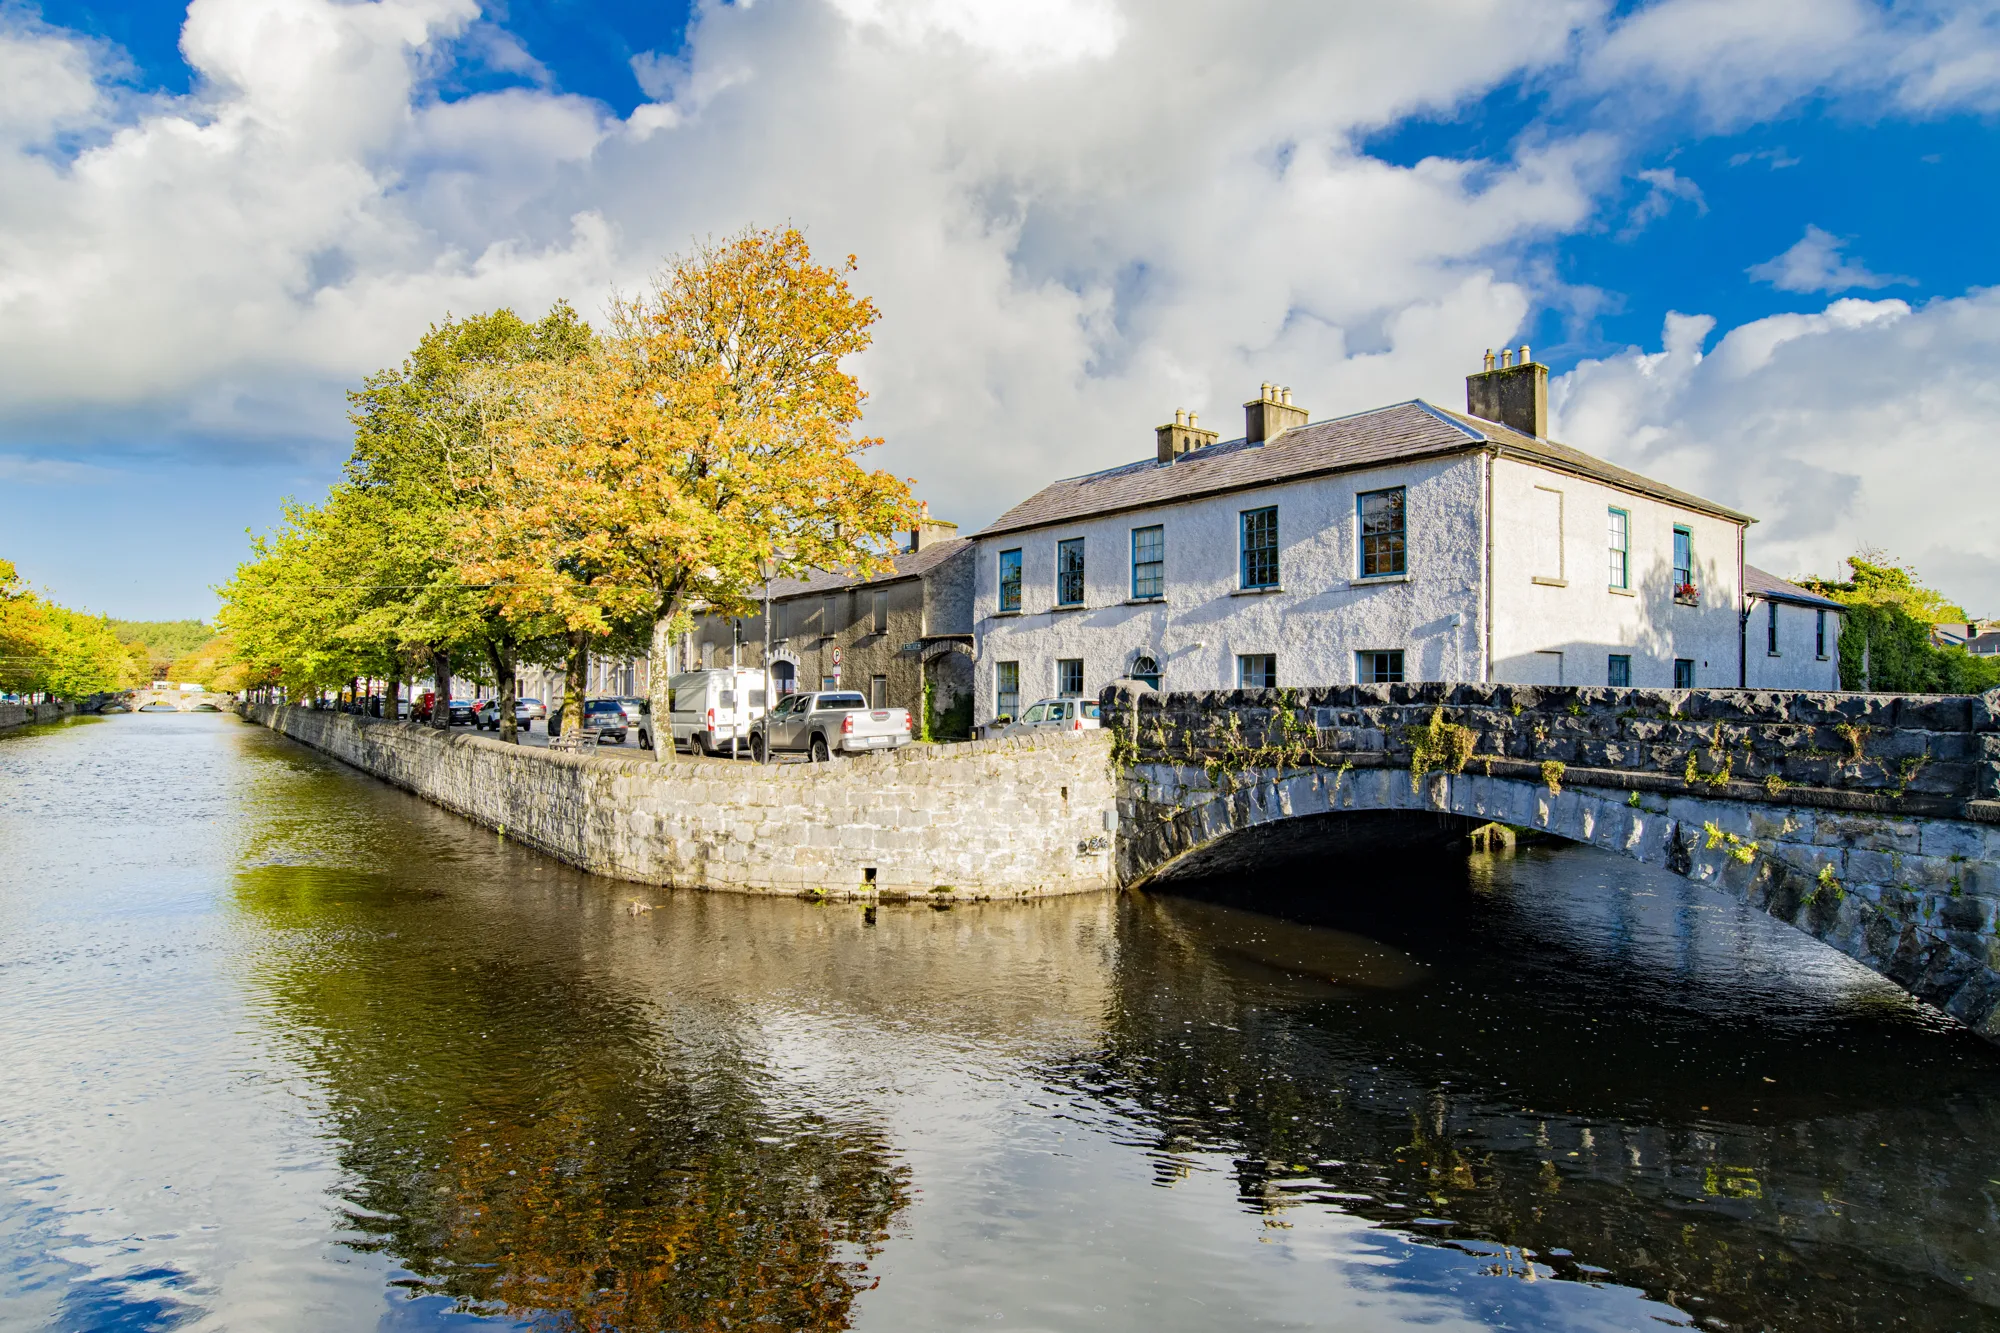
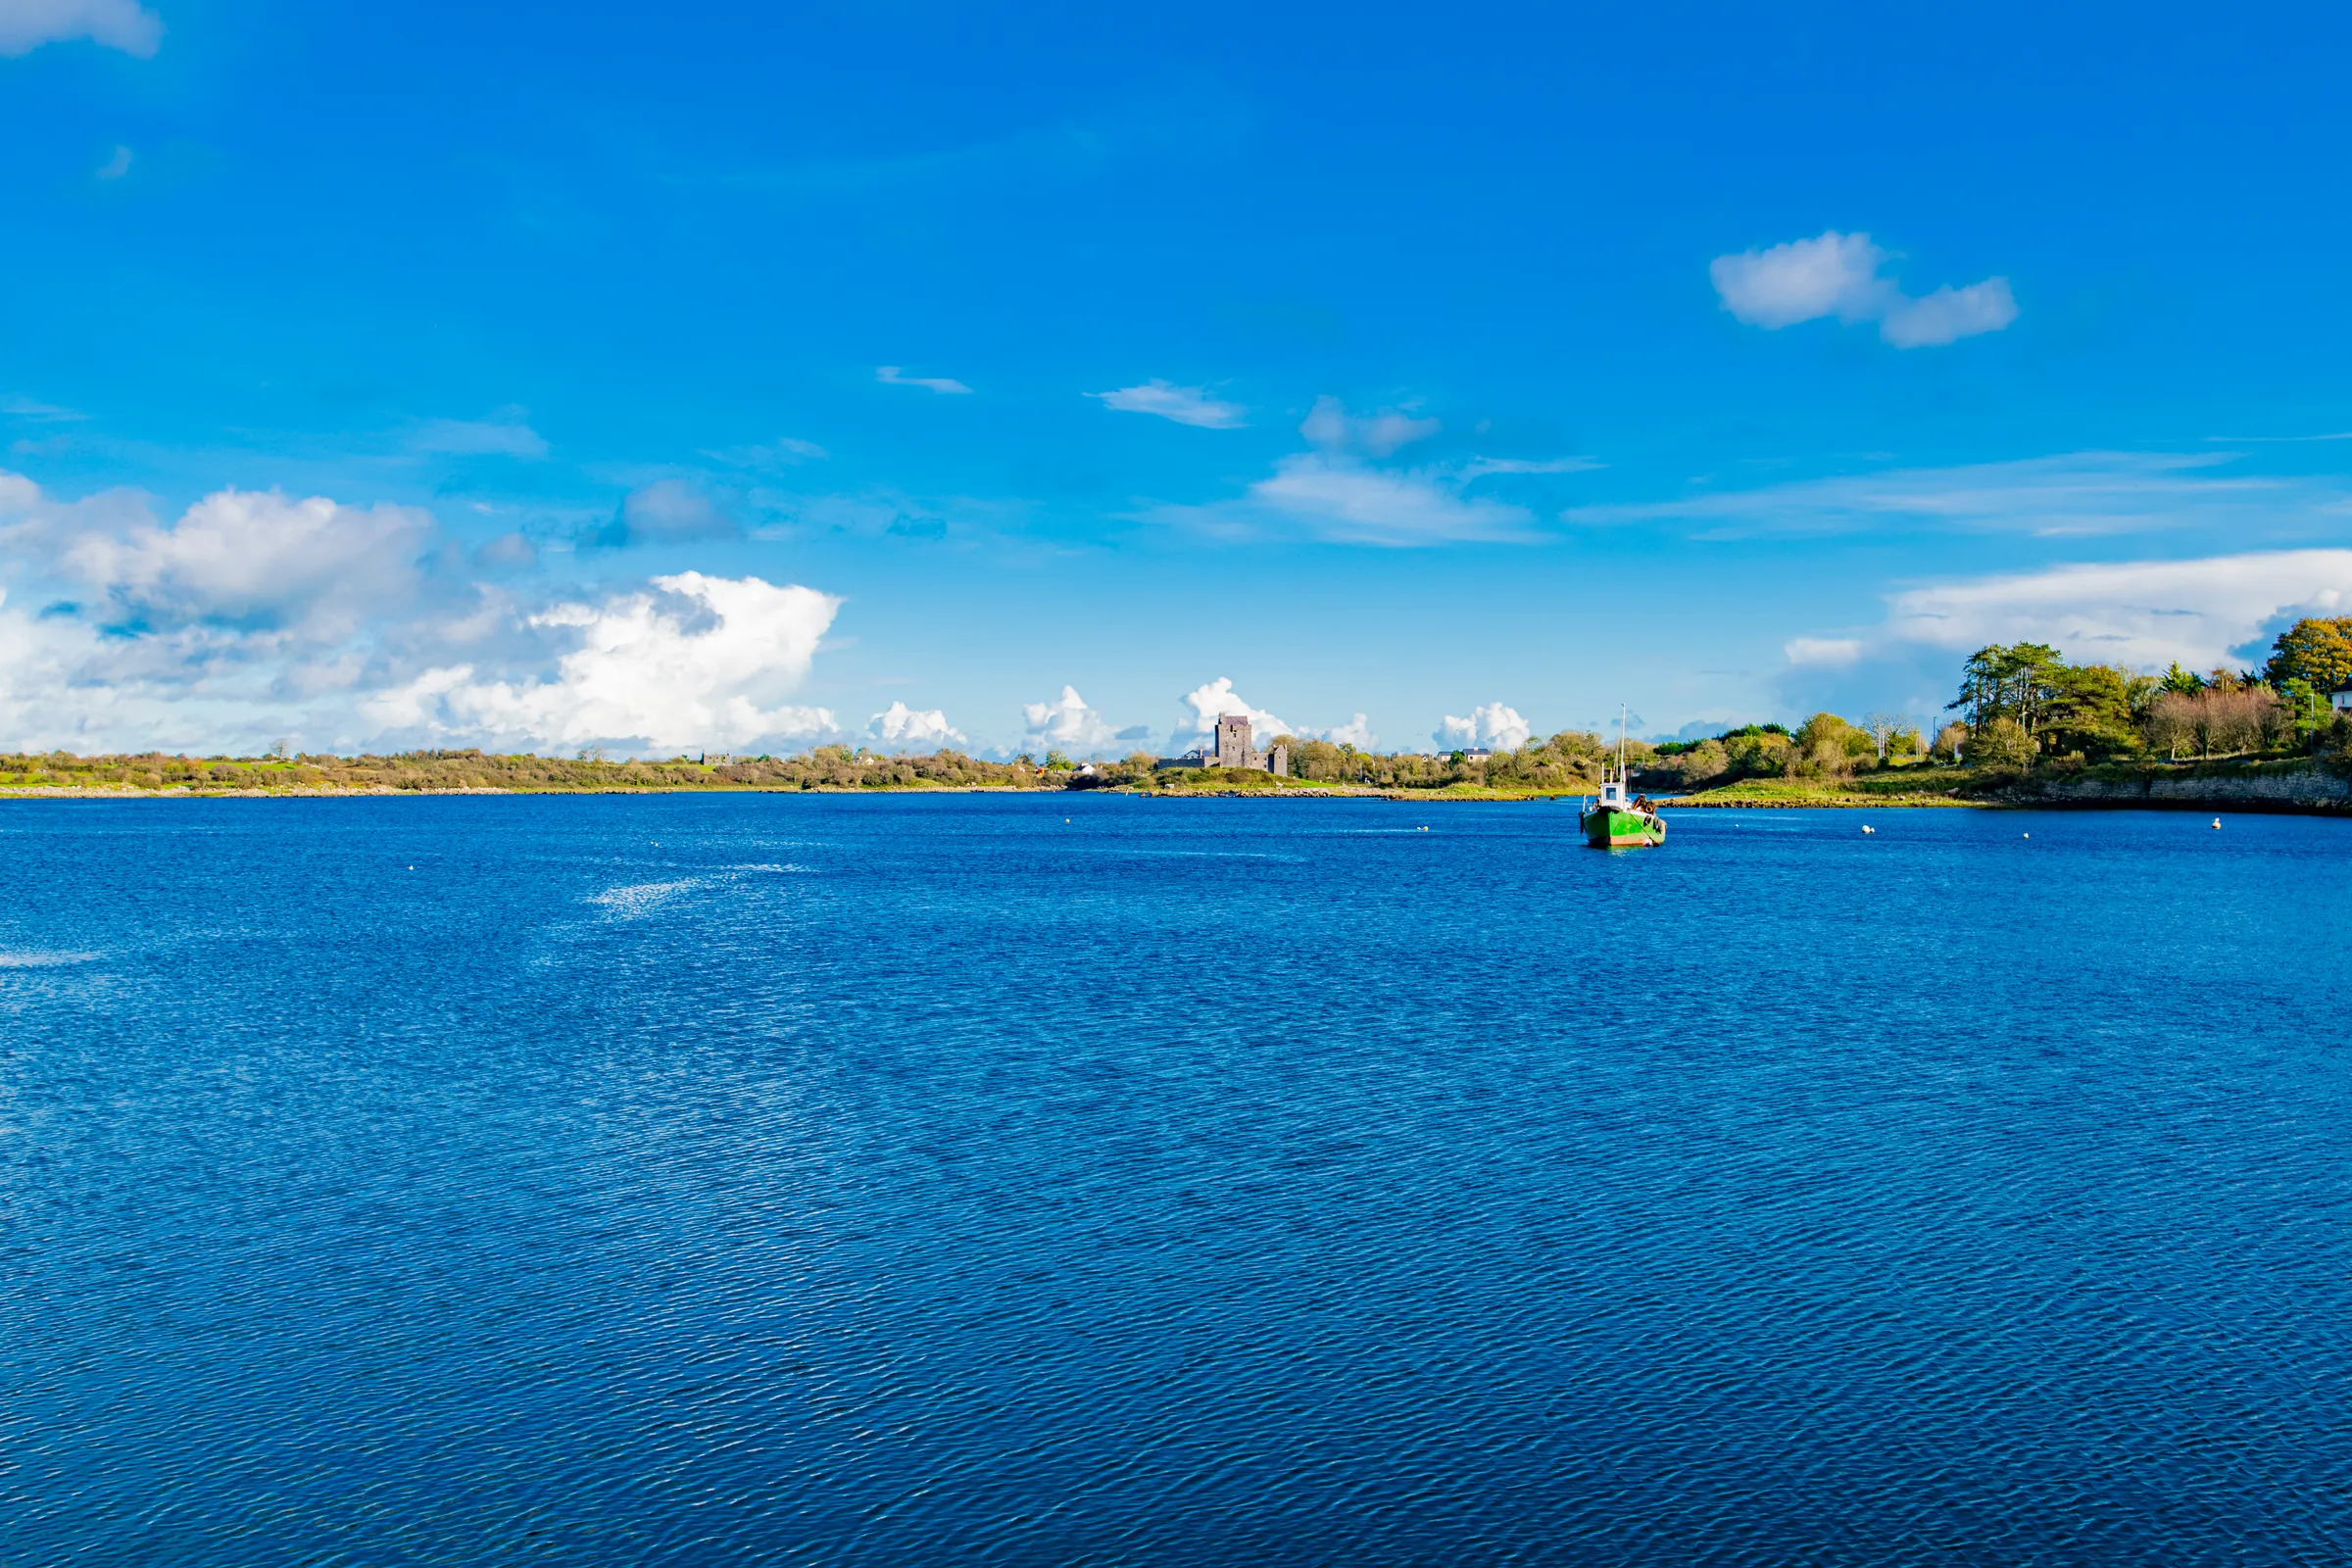
Projects do not sit in a vacuum. A context image can show the street, landscape, coastline, garden, approach or neighbouring structure that explains the design response. A detail image can slow the viewer down and make the material logic, joinery or pattern visible. Both are valuable when they support the central story rather than becoming decoration.
One useful test is whether every selected image gives the viewer a new piece of understanding. An exterior may establish massing and setting. The next view may show the entrance. An interior may explain the plan. A close image may show why a material was chosen. This sequence makes a portfolio or case-study page easier to follow and gives editors or clients a flexible set of assets without excessive near-duplicates.
Do not treat details as a consolation prize. The exact junction between old stone and a new insert, the light on a handrail or the rhythm of a façade can be the image that communicates care more persuasively than another wide shot. The key is to make those images part of the planned series, not a last-minute addition.

7. Agree usage and delivery before the work begins
Good images lose value quickly if the team cannot use them where they need to. Before booking, list the intended uses: website, portfolio, award entry, press, social media, a project partner’s promotion, a planning submission or printed material. Discuss who needs access and whether a client, contractor, interior designer or consultant will need their own permission to use the files.
The AIA guide notes that photography agreements commonly distinguish between owning a file and receiving a licence to use it. This is a practical conversation, not paperwork for its own sake. Clarifying scope early avoids discovering later that a publication, project partner or paid campaign sits outside the agreed use. It also gives the photographer a fair basis for pricing the work and delivering the right formats.
Confirm the expected delivery: high-resolution files for print, web-ready versions, file naming, turnaround and the number of final images. Save the finished set where the wider team can find it, with the project, date and usage information attached. That turns a successful shoot into an asset the practice can keep using rather than a folder that becomes hard to identify six months later.
How Avera Design International Helps Projects Read Clearly
Avera Design International creates architectural photography that helps the viewer understand the project’s form, materials, light and setting. The work begins with the story a practice or owner needs the images to tell, then builds a considered route through the essential views, details and context.
For work that also needs movement or a more immersive view of the finished space, cinematic film and 3D tours can support the still images where they add genuine clarity. Request a shoot when you are ready to plan the visual brief for a completed project.
Frequently asked questions
What should an architecture photography brief include?
A useful brief names the project, the intended audience, the key design ideas, the views that matter most, any access or confidentiality limits, the planned uses for the images and the people who need to approve the work. A floor plan or simple marked-up walk-through can help the photographer understand the building before the shoot.
When is the best time to photograph a completed project?
The best time depends on the orientation, materials, landscape and the story the images need to tell. Low side light can reveal texture and depth on an exterior, while interiors may need a different time of day to show daylight as intended. Agree the timing after reviewing the site, rather than treating every view as a single-day job.
Do I need a long shot list for architecture photography?
A short, prioritised shot list is usually more useful than an exhaustive one. It gives the team a shared understanding of the essential exterior, interior, detail and context views, while leaving room for the photographer to spot stronger compositions on site.
Who owns architecture photographs after a shoot?
Copyright and permitted use should be agreed in writing before the shoot. Many professional photography arrangements grant the commissioning practice a licence for defined uses, rather than transferring every right automatically. Confirm who may use the images, where, for how long and whether project partners need their own licence.