Preparing a house for sale is not about making it look like someone else lives there. It is about helping a buyer understand the real home with fewer distractions in the way. Before they book a viewing, people are trying to read the rooms, light, storage, condition and setting from a small number of images and details.
The most useful preparation gives the home a clear, cared-for feel online and in person. It deals with the little repairs that pull attention, makes the important rooms easy to read and gives you a manageable routine for photography and viewings. This guide focuses on that practical work, alongside the information your estate agent, solicitor and other advisers will need to handle separately.
A practical order
Prepare the house in the order a buyer experiences it
- Agree the launch timing and strongest features with your estate agent.
- Check the essential documents, energy details and small repairs early.
- Clear the entrance, kitchen, living spaces, bedrooms and bathrooms first.
- Make the route through the home and garden easy to understand.
- Plan photography close enough to launch that the home still matches the listing.
- Set a short reset routine for the first round of viewings.
Start with the plan, not a rush to redecorate
Before you move furniture or book a cleaner, speak with your estate agent about the likely buyer, the features that deserve attention and the intended launch date. A family home near schools, a coastal cottage, an apartment close to town and a rural property with land all give buyers different questions to answer. The preparation should make those answers easier to see.
Walk through the house slowly as if you are arriving for the first time. Notice the view from the gate or driveway, what meets you at the front door and whether the first rooms make sense immediately. Then make a short list under three headings: details that need repair, things that need to be cleared and information that needs to be ready. That turns an overwhelming task into a useful sequence.
Separate maintenance from major improvement. A loose handle, tired sealant, failed bulb, cracked switch plate or sticking gate can make a buyer wonder what else has been left undone. These are usually worth dealing with. A full kitchen refit, expensive landscaping or a complete redesign may be right for some homes, but should be a decision based on cost, timing and local demand rather than a last-minute reflex.
For the wider launch process, Avera's selling a house presentation checklist explains how the visual preparation fits alongside the estate-agent plan. This guide goes deeper on the practical work inside the home before the camera arrives.
Get the essentials in order before the marketing day
Small administrative gaps can create unnecessary pressure when the listing is ready to go. Keep the key contacts, documents and details in one place, then ask your estate agent what needs to be available before launch. If you have a question about boundaries, planning, extensions, shared access or a recent repair, raise it with the appropriate professional early rather than trying to answer it during a viewing.
Energy information is one practical item to check at the start. The Sustainable Energy Authority of Ireland explains that a building energy rating must be included when a home is advertised for sale or rent. Review the current BER advertising requirements with your estate agent so the listing details are ready before the launch materials are prepared.
At the same time, work through the repairs a buyer will notice without looking for them. Test handles, doors, taps, lights and exterior gates. Touch up obvious scuffs where a small repair will make the room feel more cared for. Check for tired silicone around baths and showers, loose tiles, damaged blinds or anything that interrupts a clear first impression. You are not trying to erase every sign of age. You are showing that the home has been looked after.
Clear the rooms buyers use to make comparisons
Preparation has the greatest effect in the rooms that help someone picture daily life. Start with the entrance, kitchen, main living area, bedrooms, bathrooms and the best outdoor space. Do not try to make every drawer perfect. Put your time into the spaces that establish the home's flow, comfort and capacity at a glance.
Kitchen and dining area
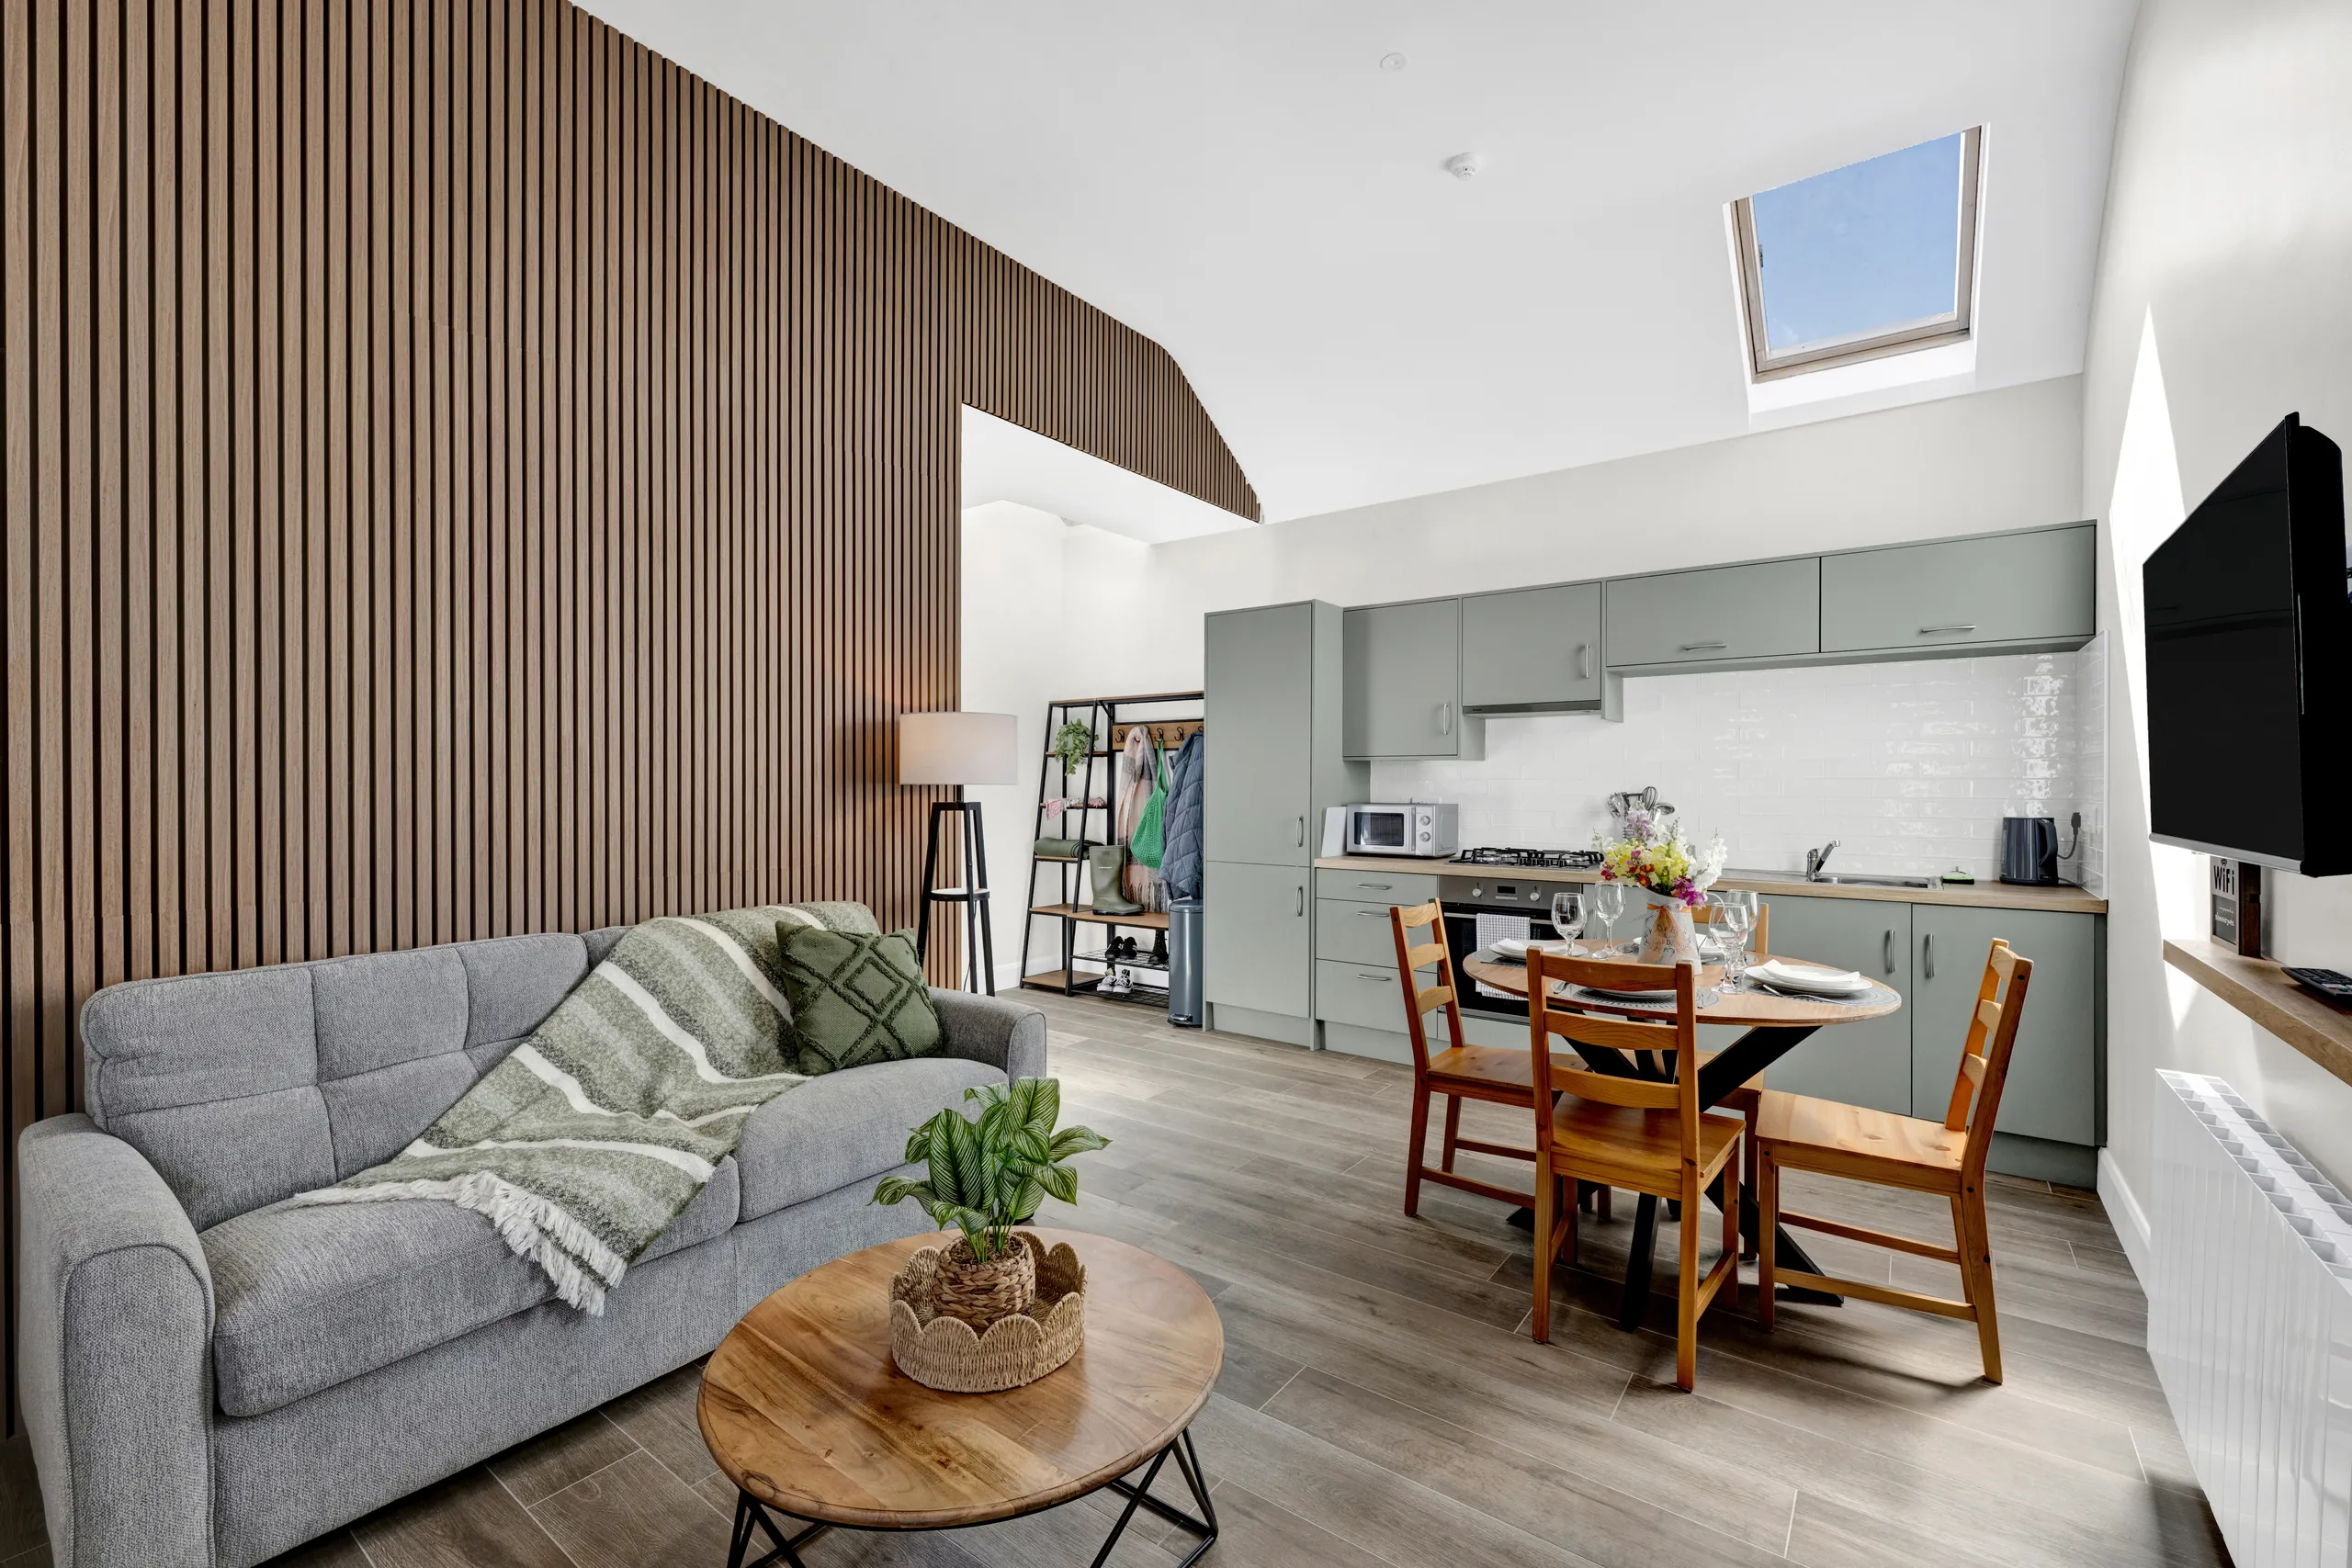
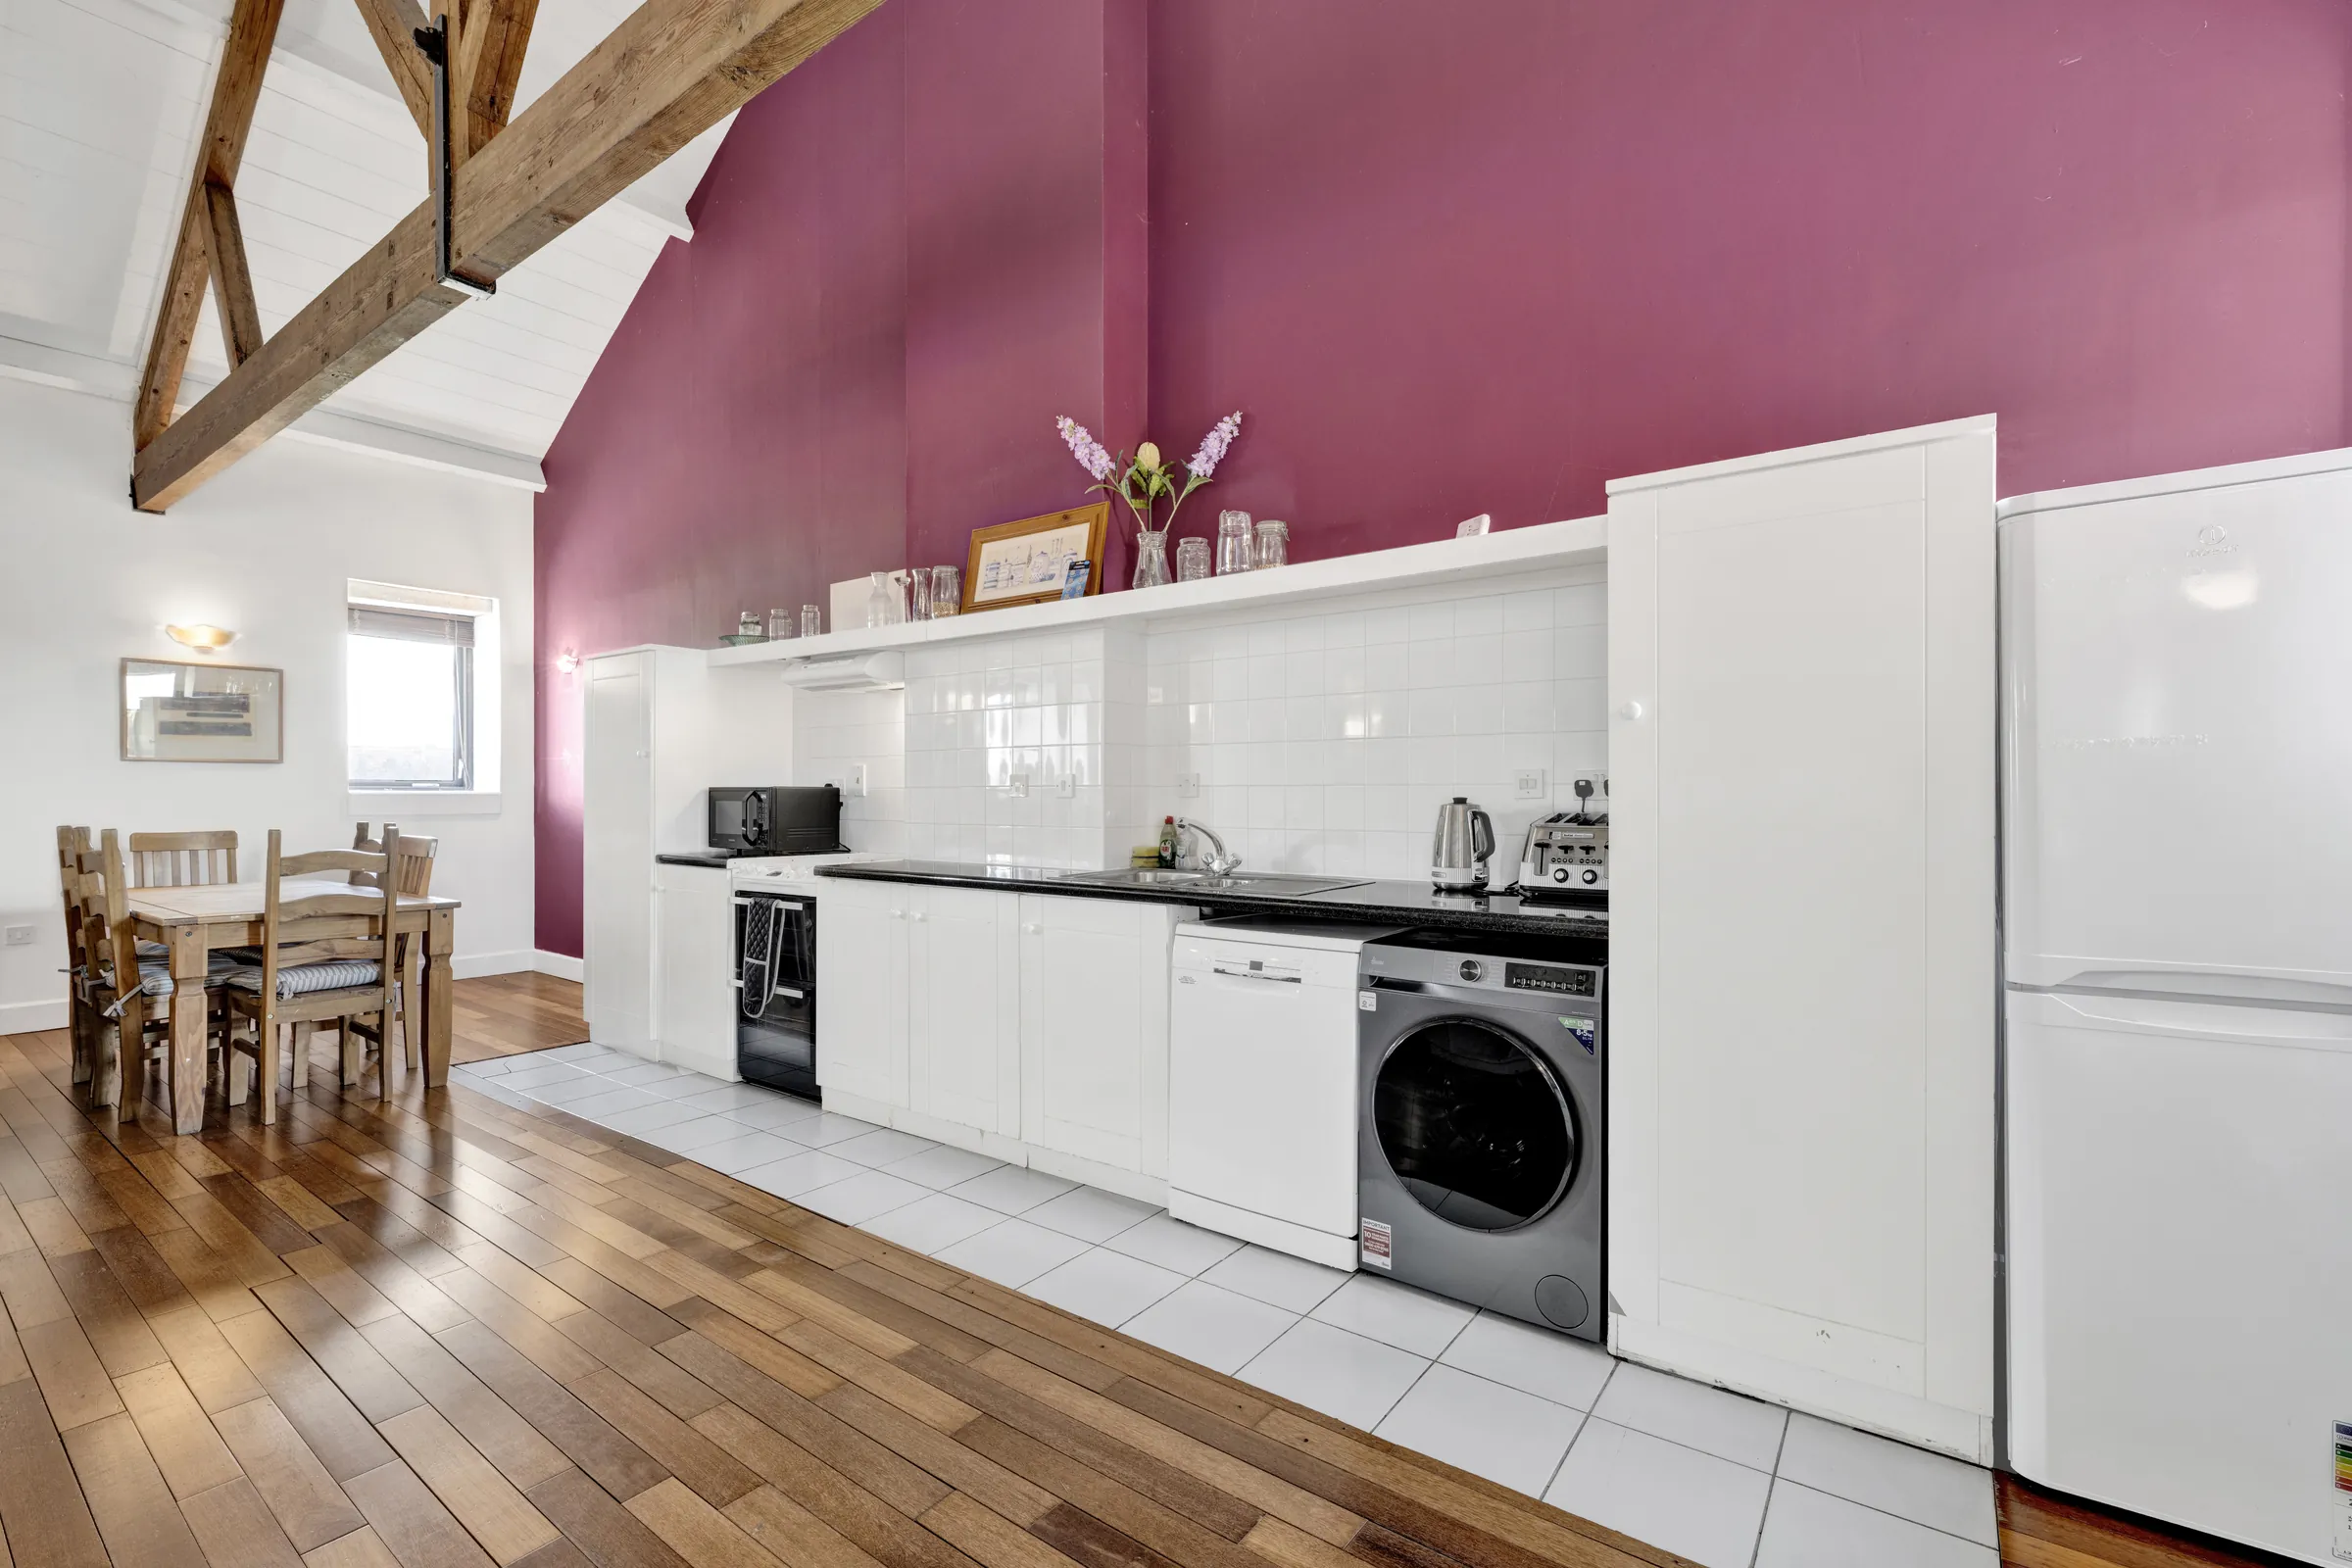
Clear worktops until the kitchen feels usable and generous, then leave only a few purposeful items. Put away cleaning products, dish racks, pet bowls, paperwork, magnets and appliances that are not built in. Clean the sink, taps, splashback and appliance fronts. A kitchen should feel ready for ordinary life, not staged so heavily that it looks impractical.
Living spaces
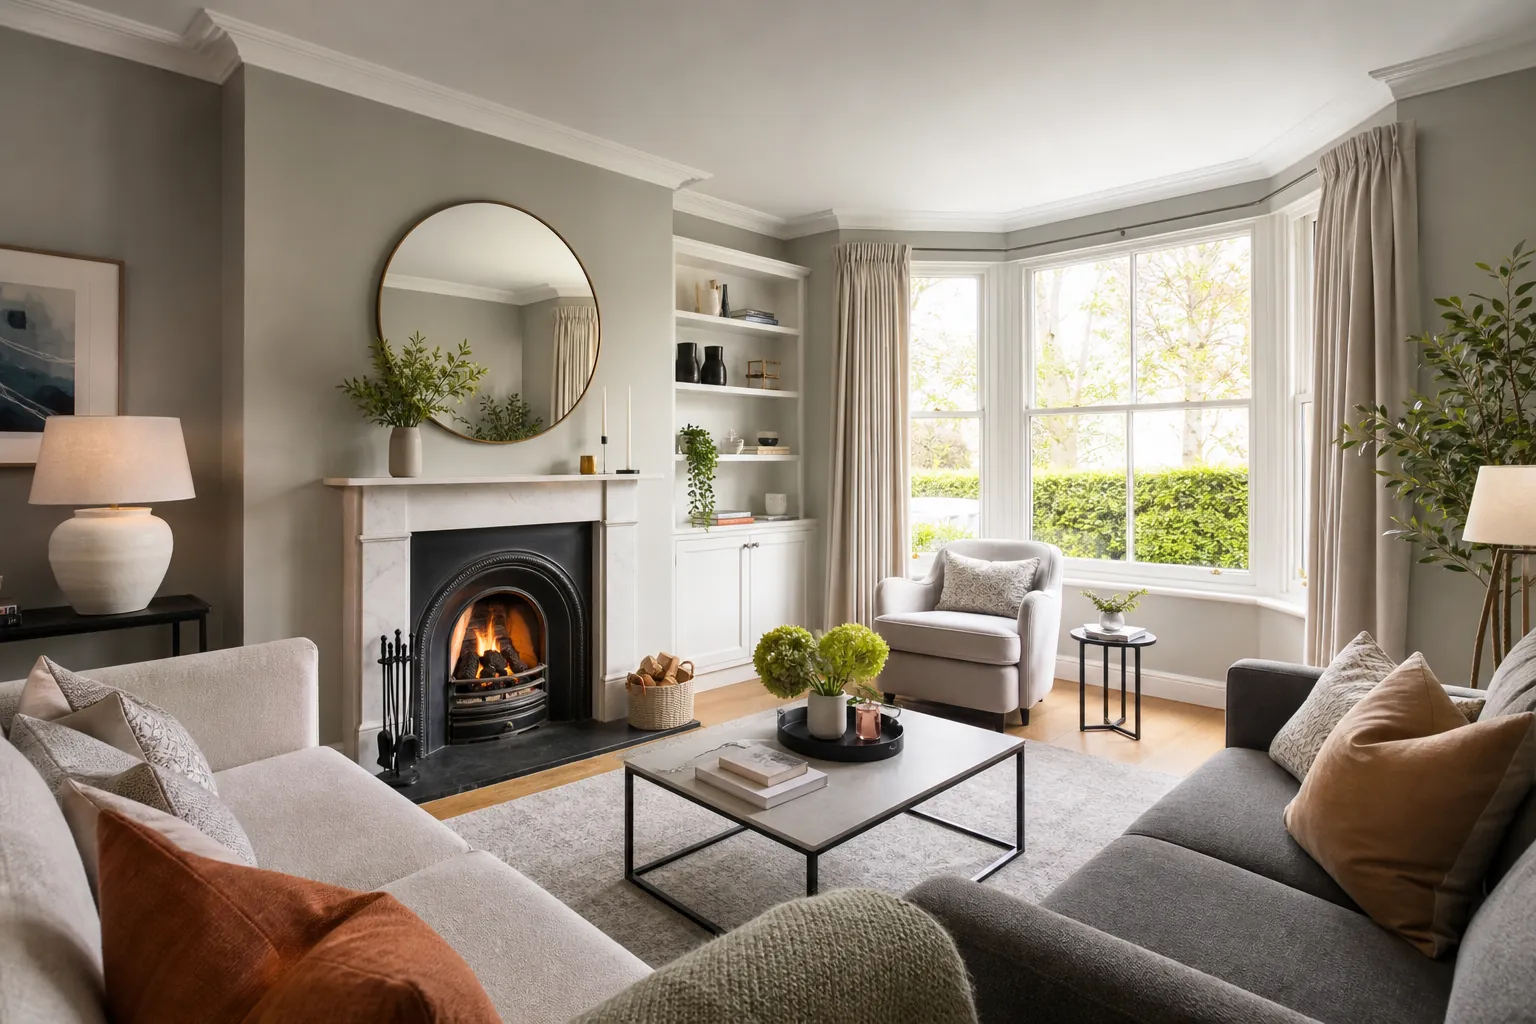
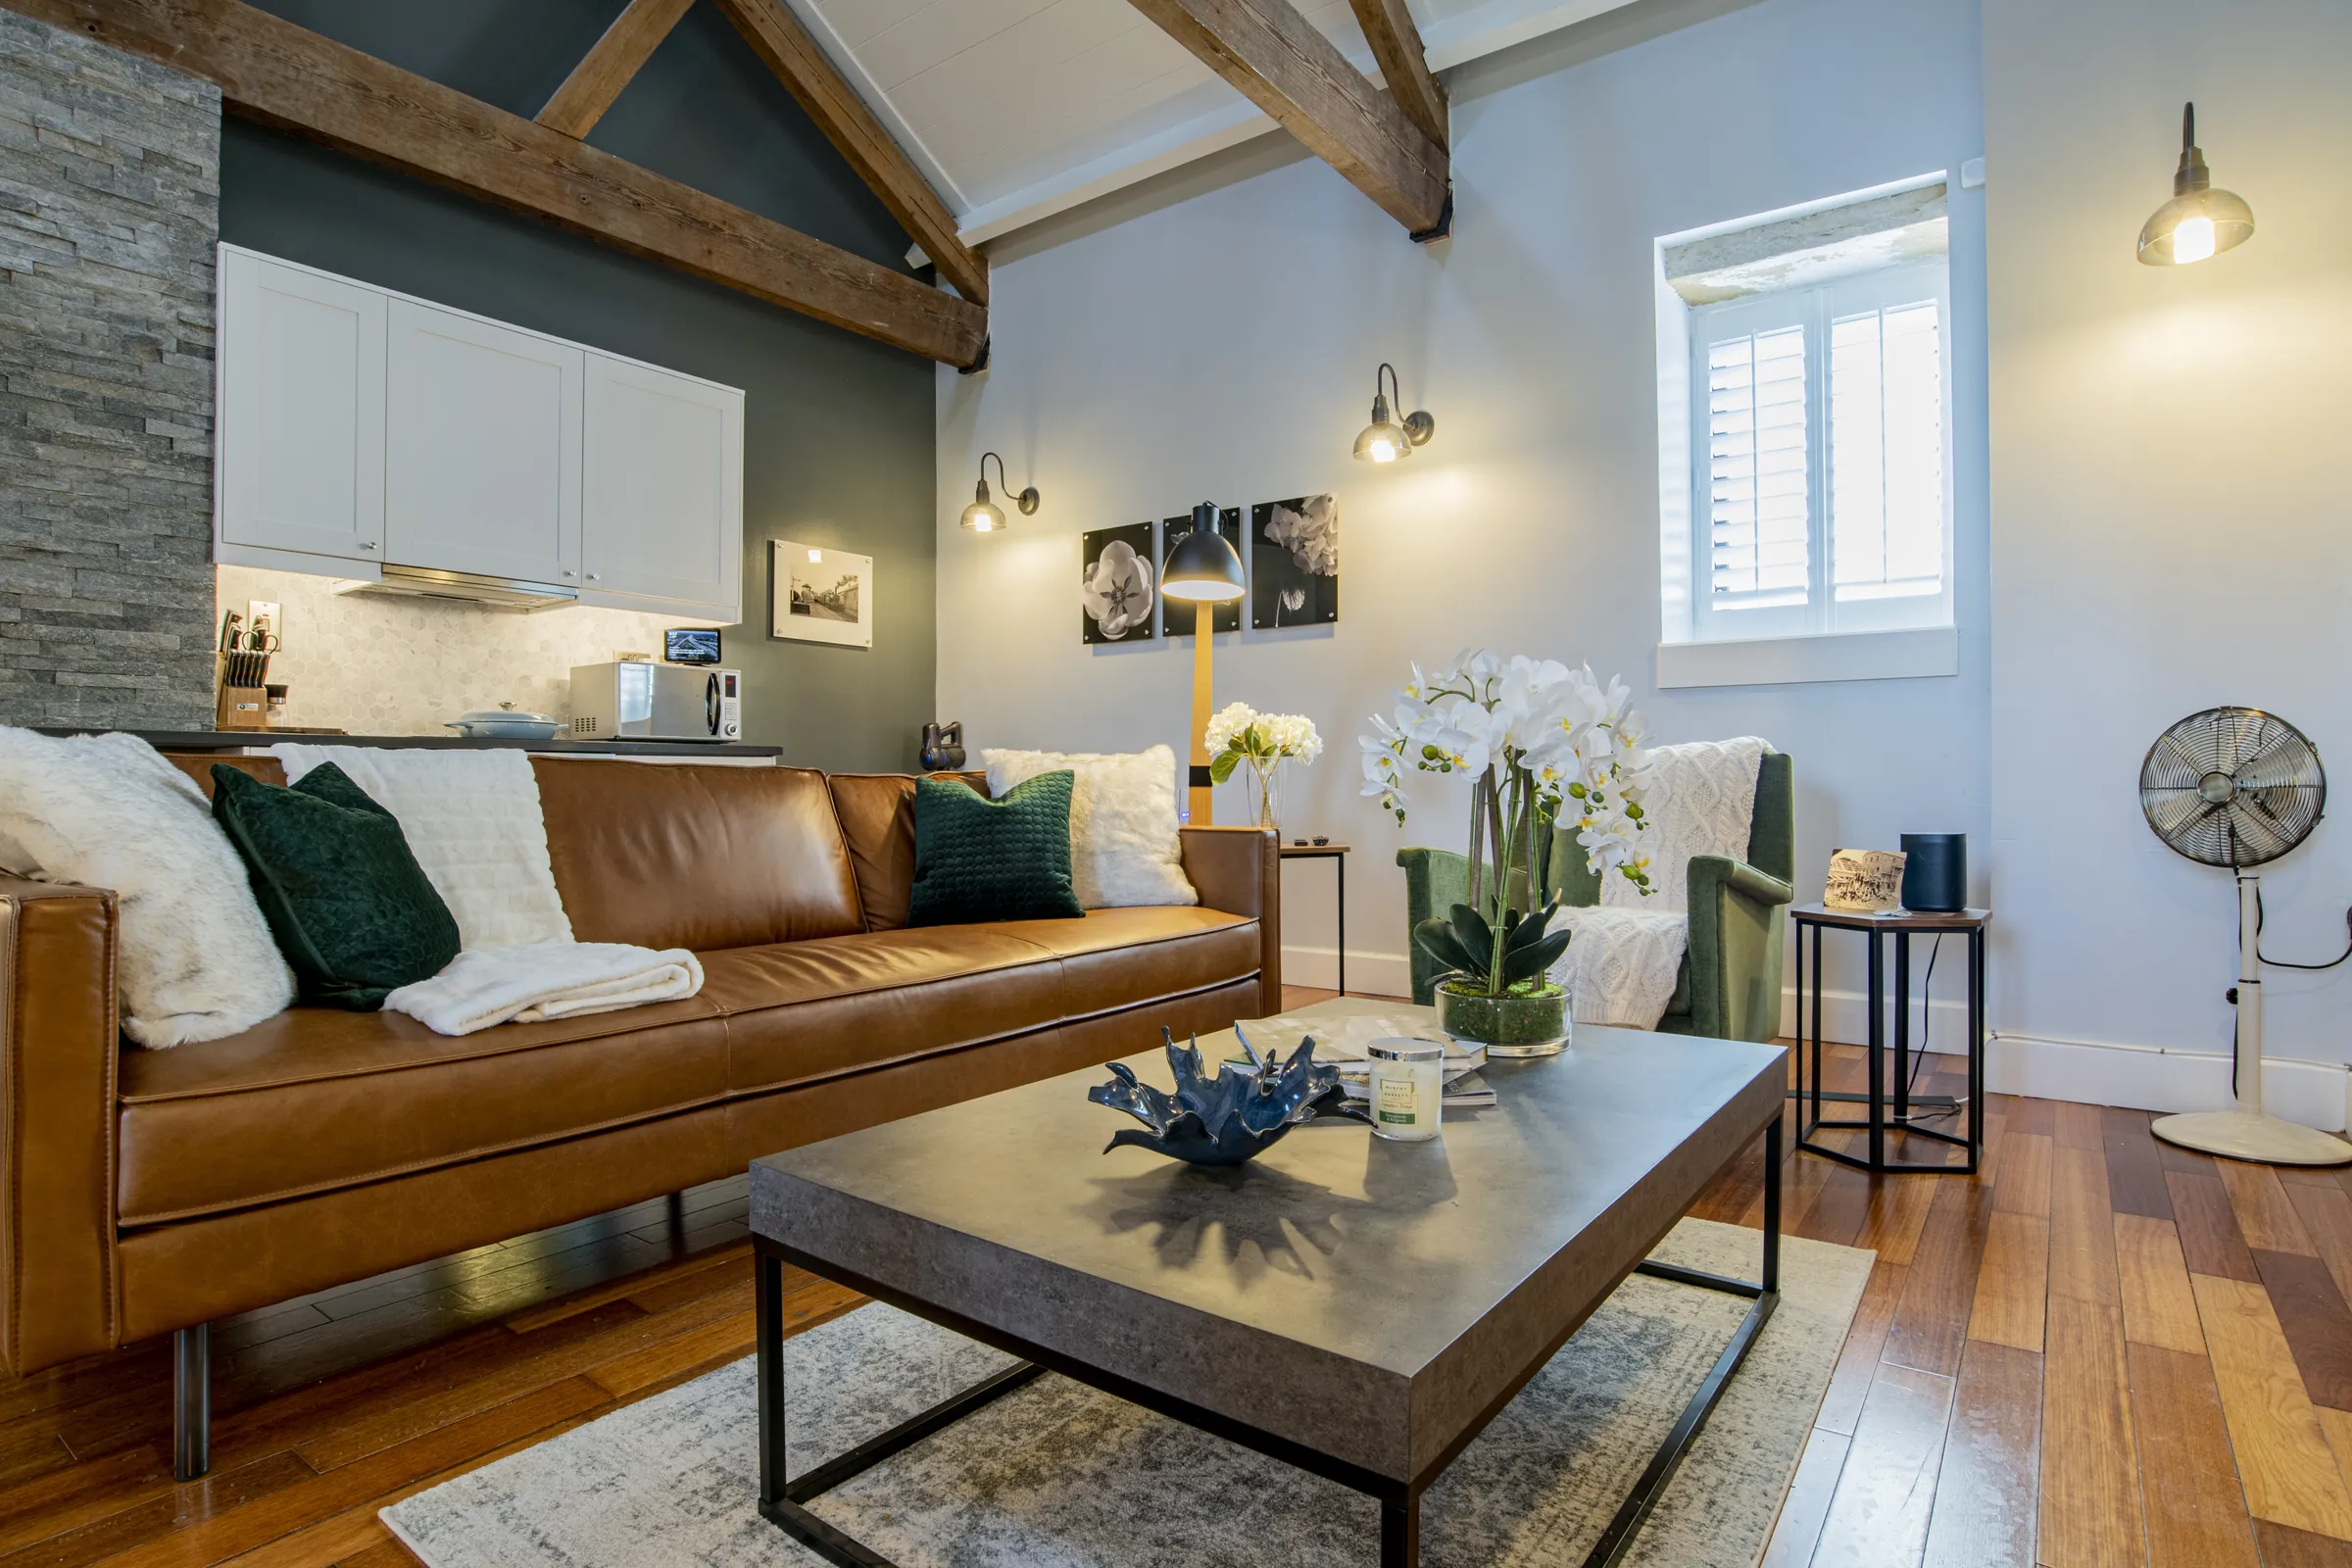
Take out the furniture that blocks natural routes or hides the room's strongest feature. That may be a heavy chair in front of a window, a large table making the doorway feel tight or a stack of stored items gathering beside a fireplace. Keep enough furniture to show scale, but give the eye a clear route through the room. The aim is to let a buyer understand where people would sit, eat, relax and move.
Bedrooms and storage
Make beds neatly, clear bedside tables and put everyday clothes, cables and laundry away. A bedroom does not need to be anonymous, but it should be easy to imagine using. For storage, show capacity rather than chaos. Wardrobes, utility rooms and sheds can hold normal belongings, yet packed floors, bags and temporary boxes make the home feel as though it is running out of space.
A focused room-by-room staging guide can help when you are deciding what to remove, what to keep and how to give a spare room one believable purpose. The most convincing changes are usually simple: clearer surfaces, better light and less visual competition.
Let light, flow and condition do the work
A clean room can still feel difficult to understand if the light is blocked or the layout is cluttered. Stand at each doorway and notice what catches the eye first. If it is a garden view, fireplace, feature window or well-proportioned dining area, let it breathe. If it is a drying rack, cable bundle or pile of things waiting to be dealt with, remove it before you start adding decorative touches.
Open curtains fully, lift blinds high enough to uncover the glass and clean the inside of the windows. Replace failed bulbs, especially where multiple lights are visible in the same room. Natural light will change with the weather, but clean glass, uncluttered sills and a clear route to the window give photography much more to work with.
Pay attention to the connection between adjoining spaces. If a kitchen opens to a dining area, or a sitting room opens to the garden, prepare both at the same time. Buyers naturally infer how a home works from doorways, sight lines and the spaces just beyond the frame. When one room is calm and the next is overflowing, the impression loses its rhythm.
Good property photography can then focus on the character, light and layout that make the home worth seeing, rather than working around avoidable distractions.
Do not leave bathrooms and outside space until last
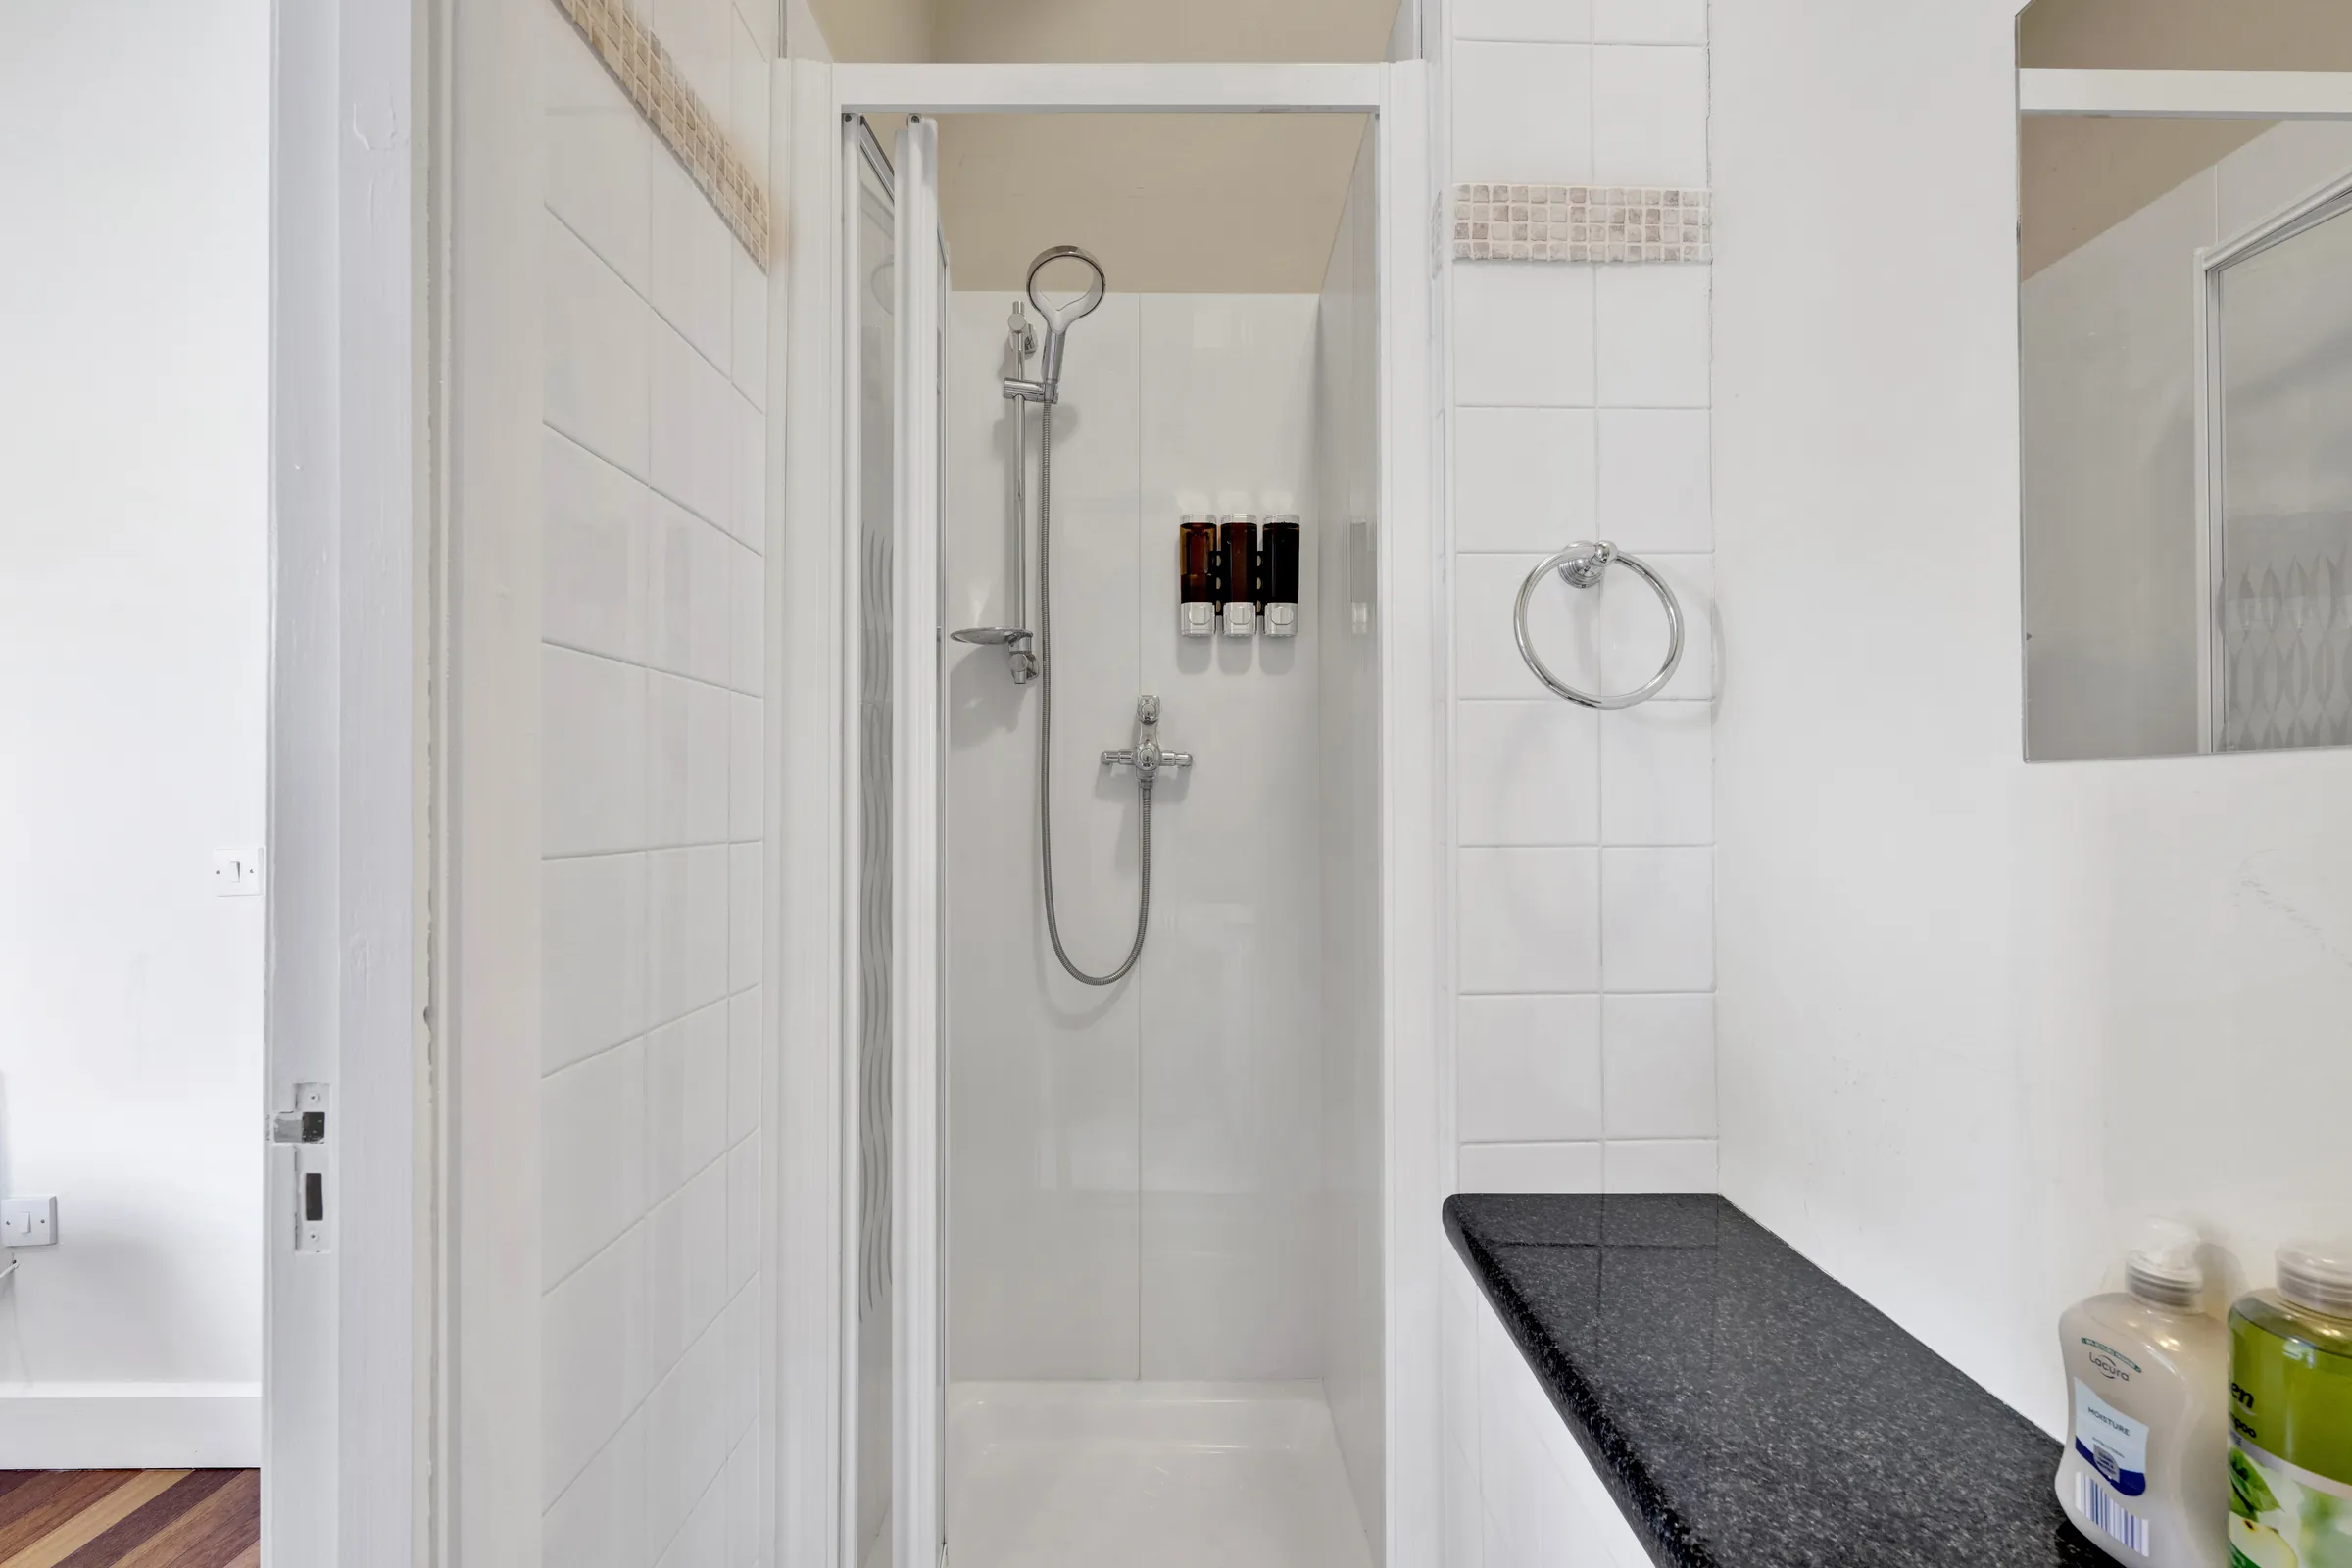
Bathrooms reward the strictest edit. Put away toiletries, toothbrushes, bath toys, bins and laundry. Clean glass, mirrors, taps and grout, close the toilet lid and use fresh towels. The room does not need to look like a hotel. It needs to feel clean, bright and well maintained when a buyer looks closely.
Outside, follow the same route a visitor will take. Sweep paths, clear the entrance, move bins, remove broken pots and put away tools, hoses, toys and loose furniture. Check that gates and exterior lights work. Trim back growth that blocks a useful window or path where practical. The approach should let people arrive easily, not make them work past a visual obstacle course before they reach the door.
Give the main garden, balcony, view or outdoor seating area a proper check too. These spaces often help a buyer understand how the home extends beyond its floor area. You do not need to create a show garden. You do need to make the useful parts accessible, tidy and easy to picture in ordinary life.
Plan photographs and viewings as one process
Photography day should not be the only day the home looks prepared. A buyer who arrives after seeing considered images expects the property to feel broadly consistent. The rooms do not need to stay frozen in photo-ready condition, but the main spaces should remain calm enough that the listing and the viewing tell the same story.
Create a reset routine that takes ten or fifteen minutes. Clear the kitchen surfaces, make the beds, open curtains, air the rooms, check the bathroom and straighten the entrance. Choose one box, cupboard, car boot or utility space for the last-minute things that tend to collect on view: coats, keys, pet supplies, chargers, remotes and paperwork. That gives you a reliable place to put them instead of moving clutter from room to room.
Use Avera's pre-shoot checklist to work through the final details before photography. For a larger home or a layout that is hard to read from still images alone, a Matterport 3D tour can help serious buyers move through the space at their own pace after the first photographs have earned their attention.
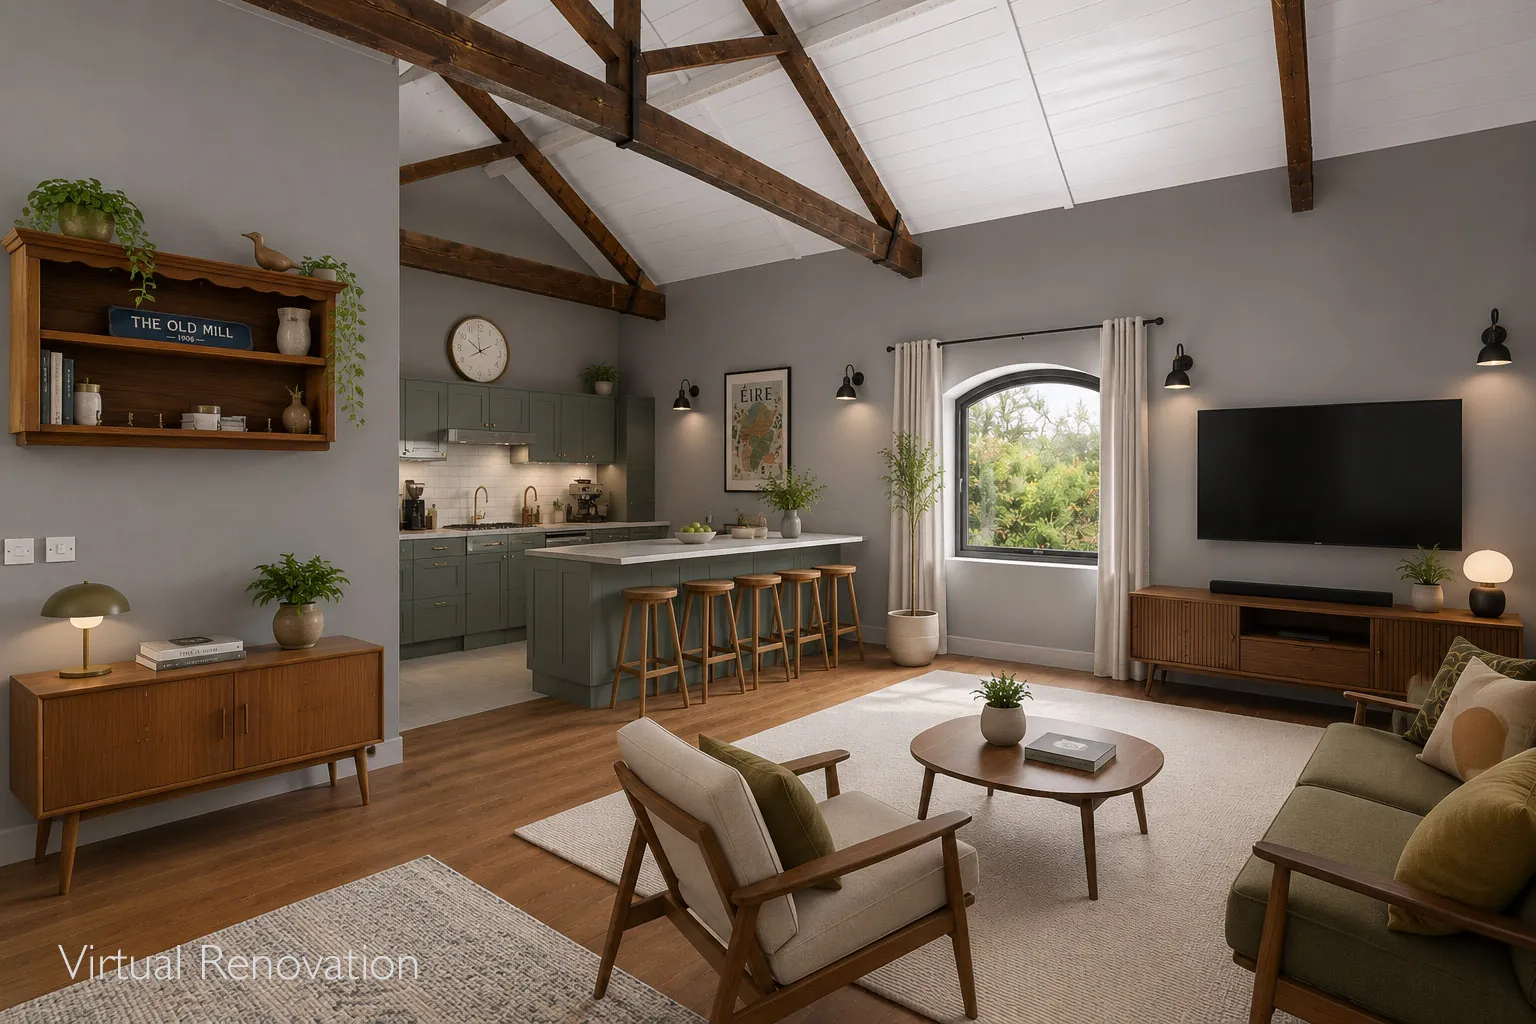
For a vacant or awkward room, virtual staging can offer a clear furniture layout when used honestly alongside the real room. It should explain scale and possibility, never hide a defect or suggest that the furniture is included.

Know what can wait
Preparation has a point of diminishing returns. Once the home is clean, functional and easy to understand, small obsessive changes can take time away from the work that matters. Do not delay a launch because every wall is not perfect or the garden does not look like a catalogue. Buyers are looking for a property that feels cared for and usable, not a replica show home.
Be careful with costly purchases and irreversible changes. Removing useful furniture, buying decorative pieces or repainting every room can make the home less recognisable without making it more appealing. When you are unsure about a task, ask whether it helps a buyer understand the space or feel more confident about its care. If the answer is no, it can probably wait.
The same principle applies to presentation. Do not use styling or editing to conceal a material issue, change the apparent size of a room or imply that a feature belongs with the property when it does not. Clear marketing attracts better-informed enquiries and makes the eventual viewing more useful for everyone.
The day before
Your final preparation checklist
- Check the BER and other listing details with your estate agent.
- Finish small repairs that catch the eye in the main rooms and approach.
- Clear floors, worktops, tables, window ledges and bathroom surfaces.
- Put away personal items, laundry, pet supplies, bins and cables.
- Open curtains, clean windows and make sure visible lights work.
- Sweep the entrance and make the main outdoor space easy to use.
- Set aside one place for the last-minute items that return before a shoot or viewing.
How Avera Design International helps
Once the property is prepared, Avera Design International can shape the visual side of the launch around the questions a buyer needs answered. The photography, cinematic video, 3D-tour, virtual-staging and campaign-media options are designed to show the real light, layout, setting and potential of a property without adding media for its own sake.
A straightforward home may need a strong set of photographs. A distinctive home may benefit from a fuller story across several formats. Request a shoot when you are ready to plan the listing around the property's strongest qualities.
Frequently asked questions
What should I do first when preparing a house for sale?
Start by agreeing the timing and strongest selling points with your estate agent, then deal with small repairs, paperwork and the rooms buyers will notice first. This prevents you spending time on changes that do not help the listing or the viewing experience.
Should I renovate my house before selling it?
Prioritise repairs and maintenance that make the home feel cared for and easy to understand. Major renovation is a separate financial decision, so discuss the likely value, timing and local buyer expectations with your estate agent before committing to expensive work.
How clean should a house be for sale photos?
Aim for clean enough that a viewer notices the room rather than the cleaning. Clear worktops, clean windows, polished bathroom surfaces, tidy floors and a calm entrance make a meaningful difference without making the home feel artificial.
How do I keep an occupied house ready for viewings?
Create a short reset routine for the kitchen, living room, main bedroom, bathroom and entrance. Keep one basket, cupboard or car boot for last-minute items, then open curtains, make beds, clear surfaces and check the approach before each viewing.