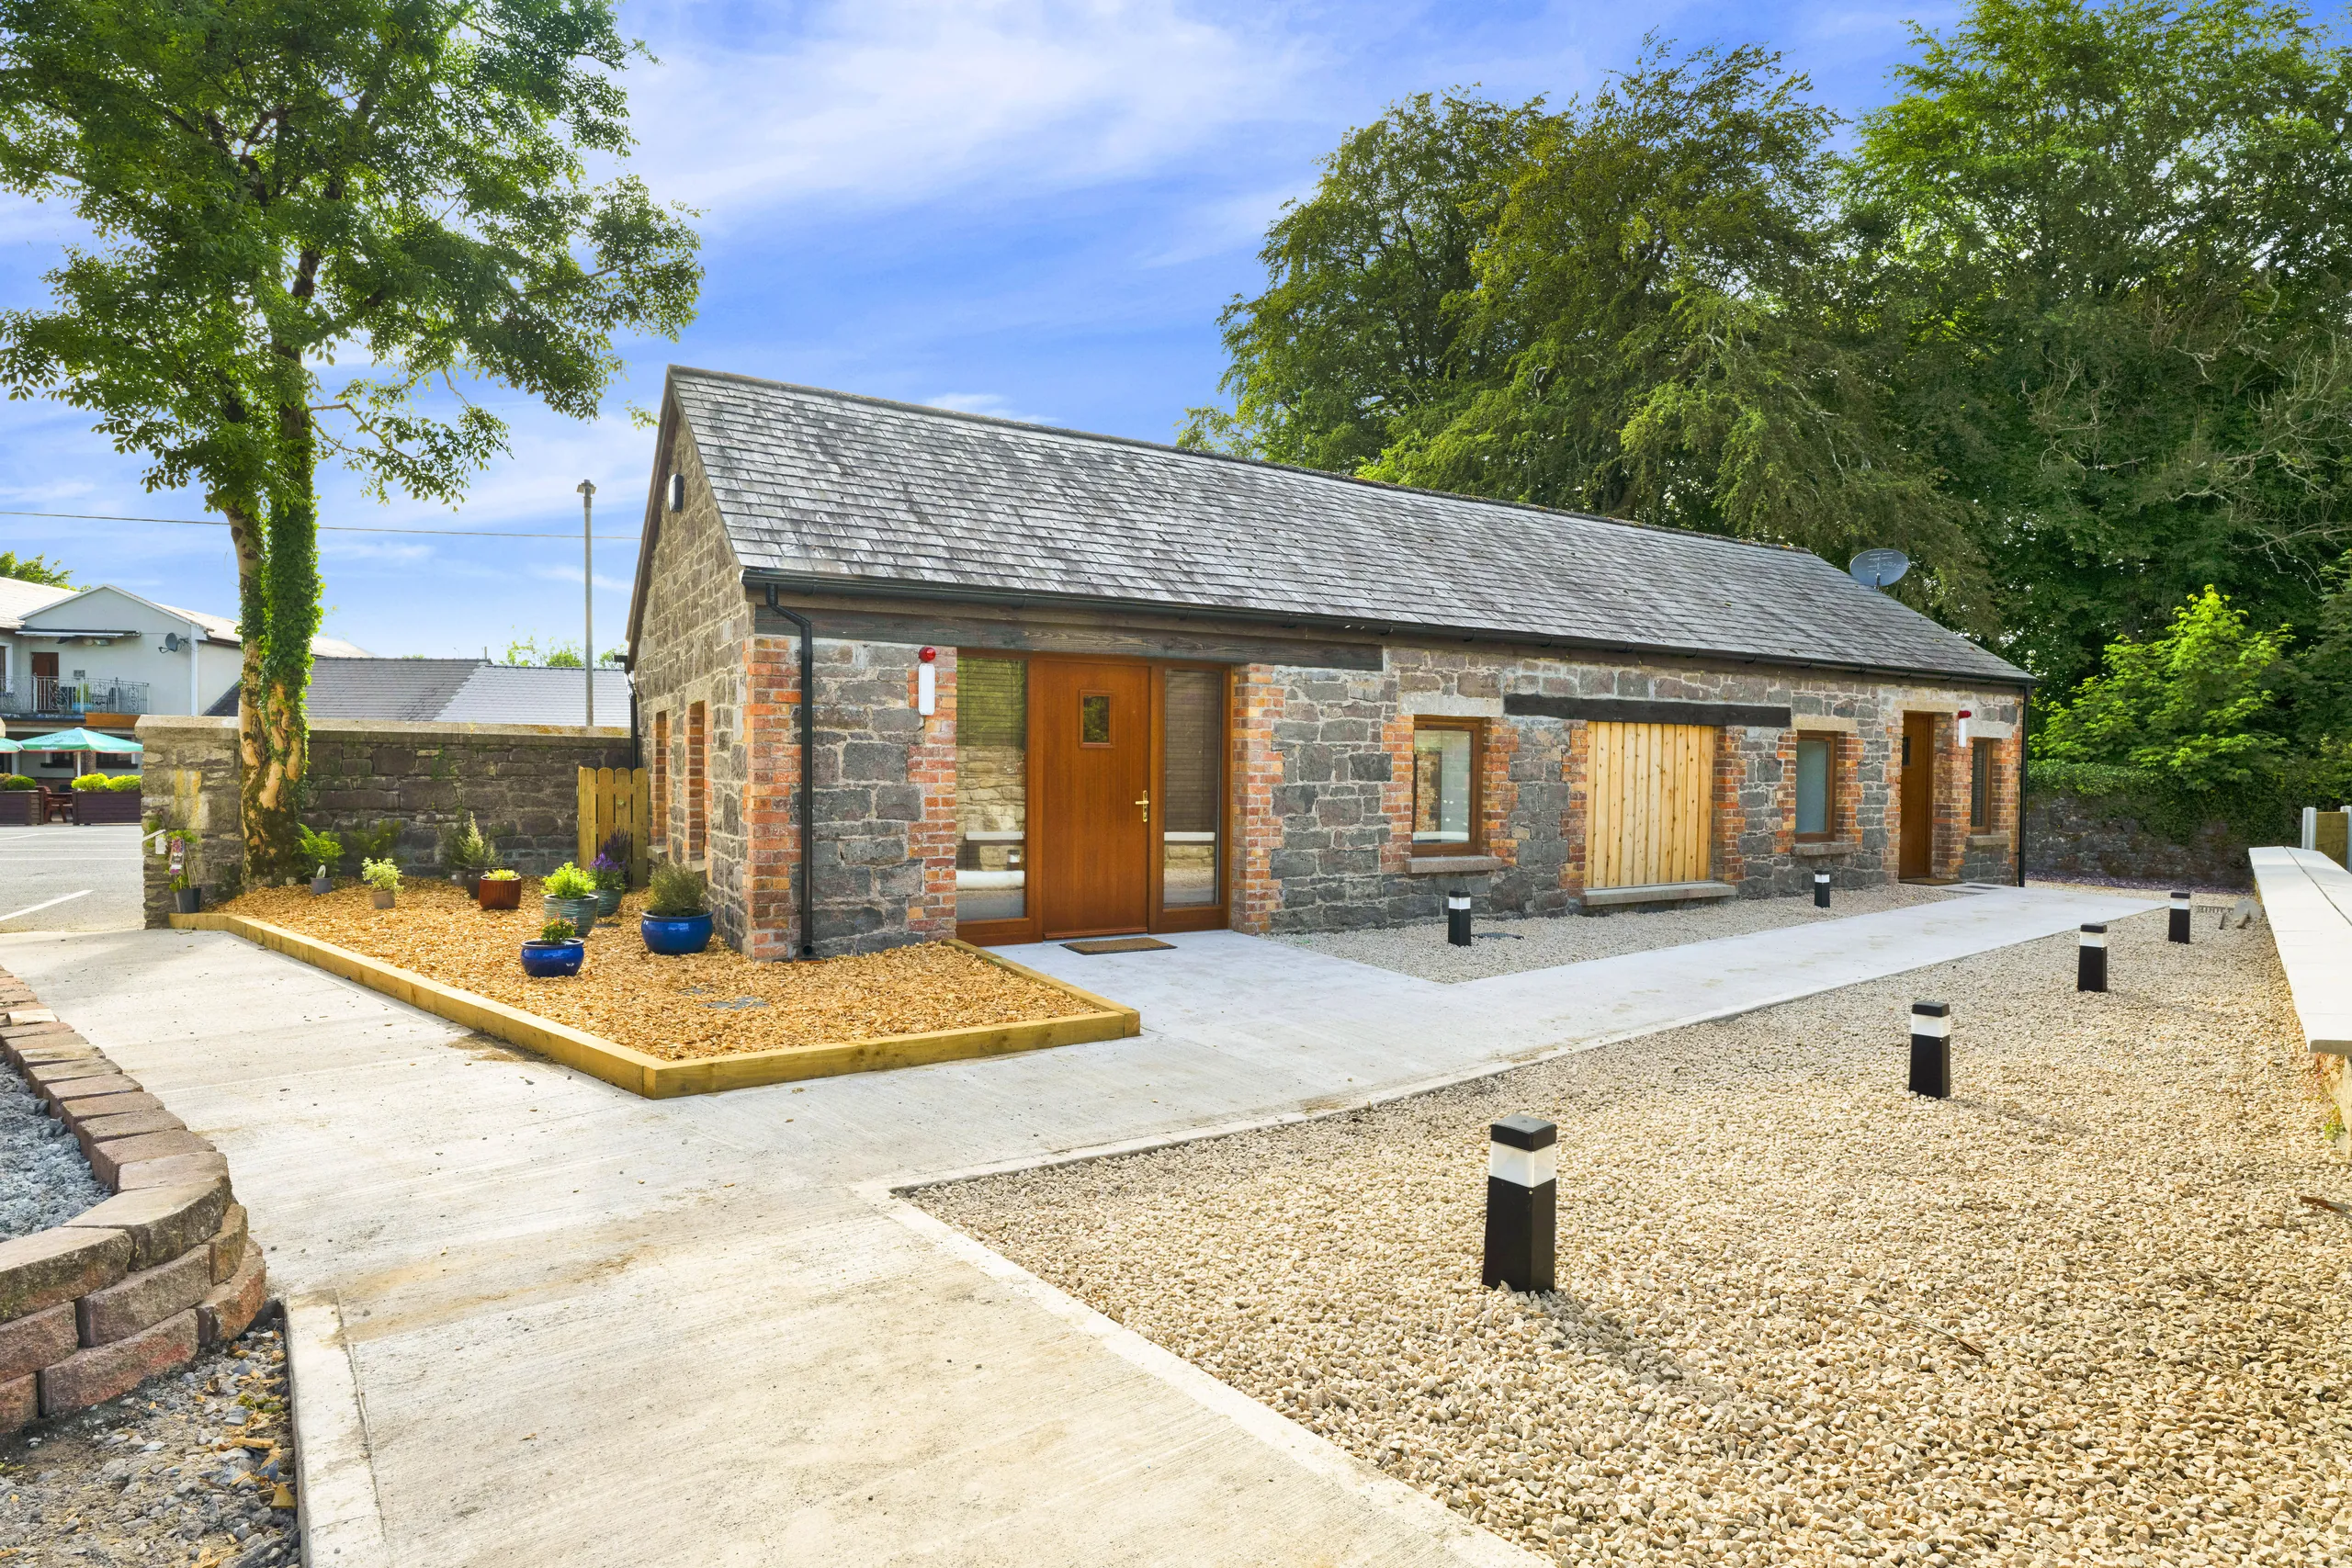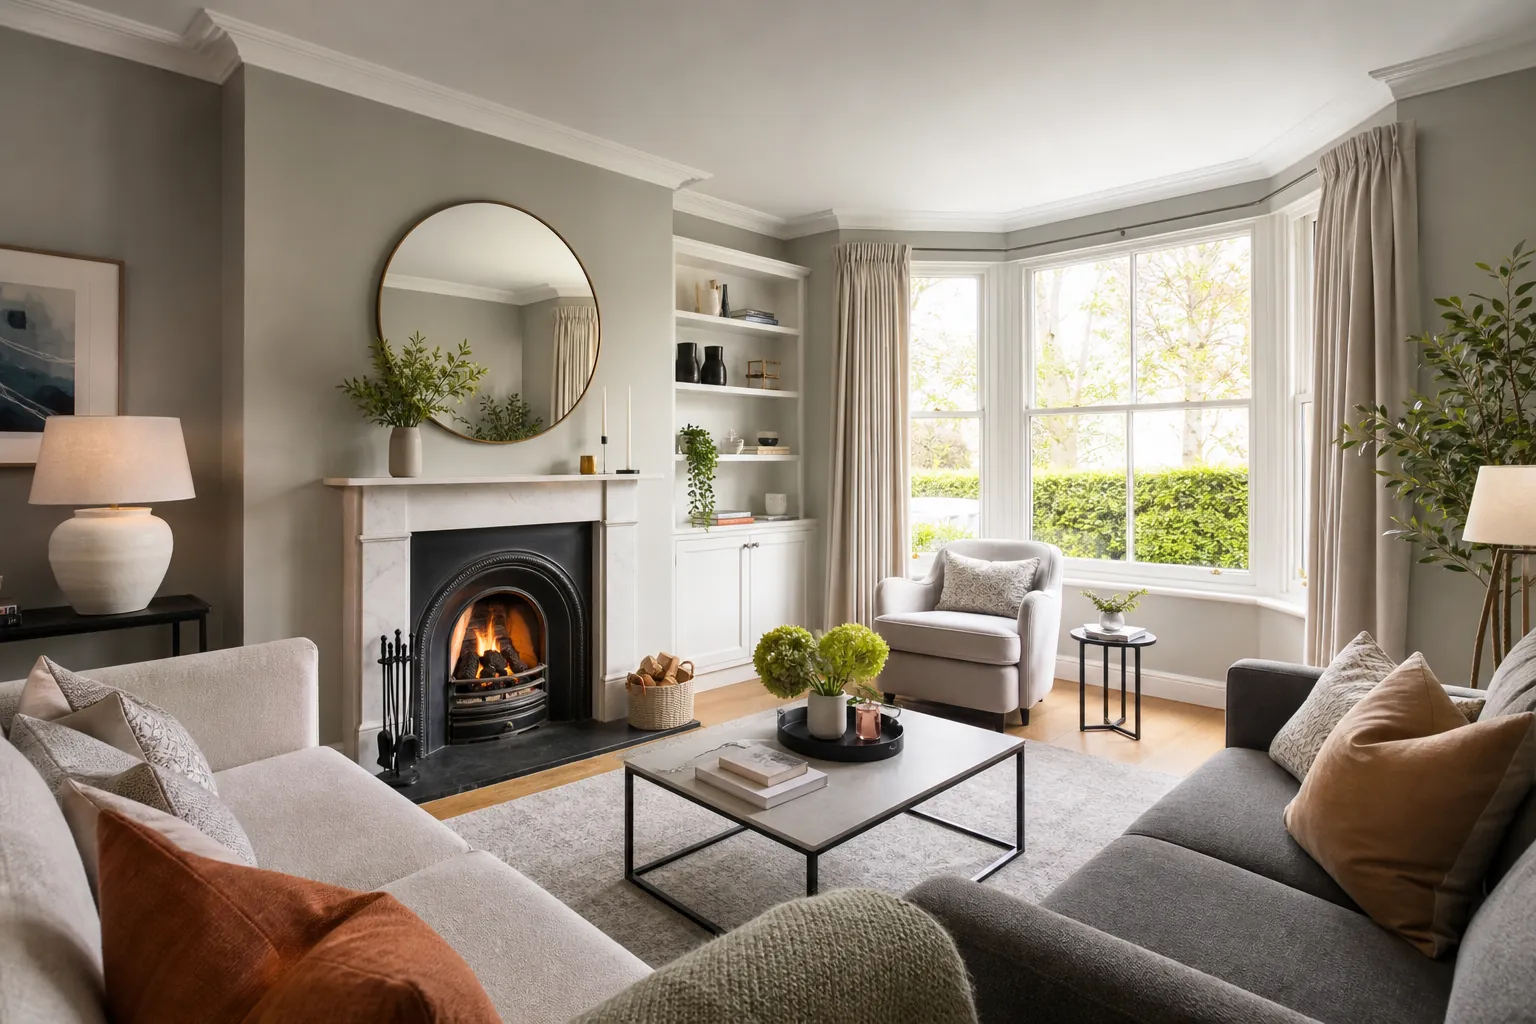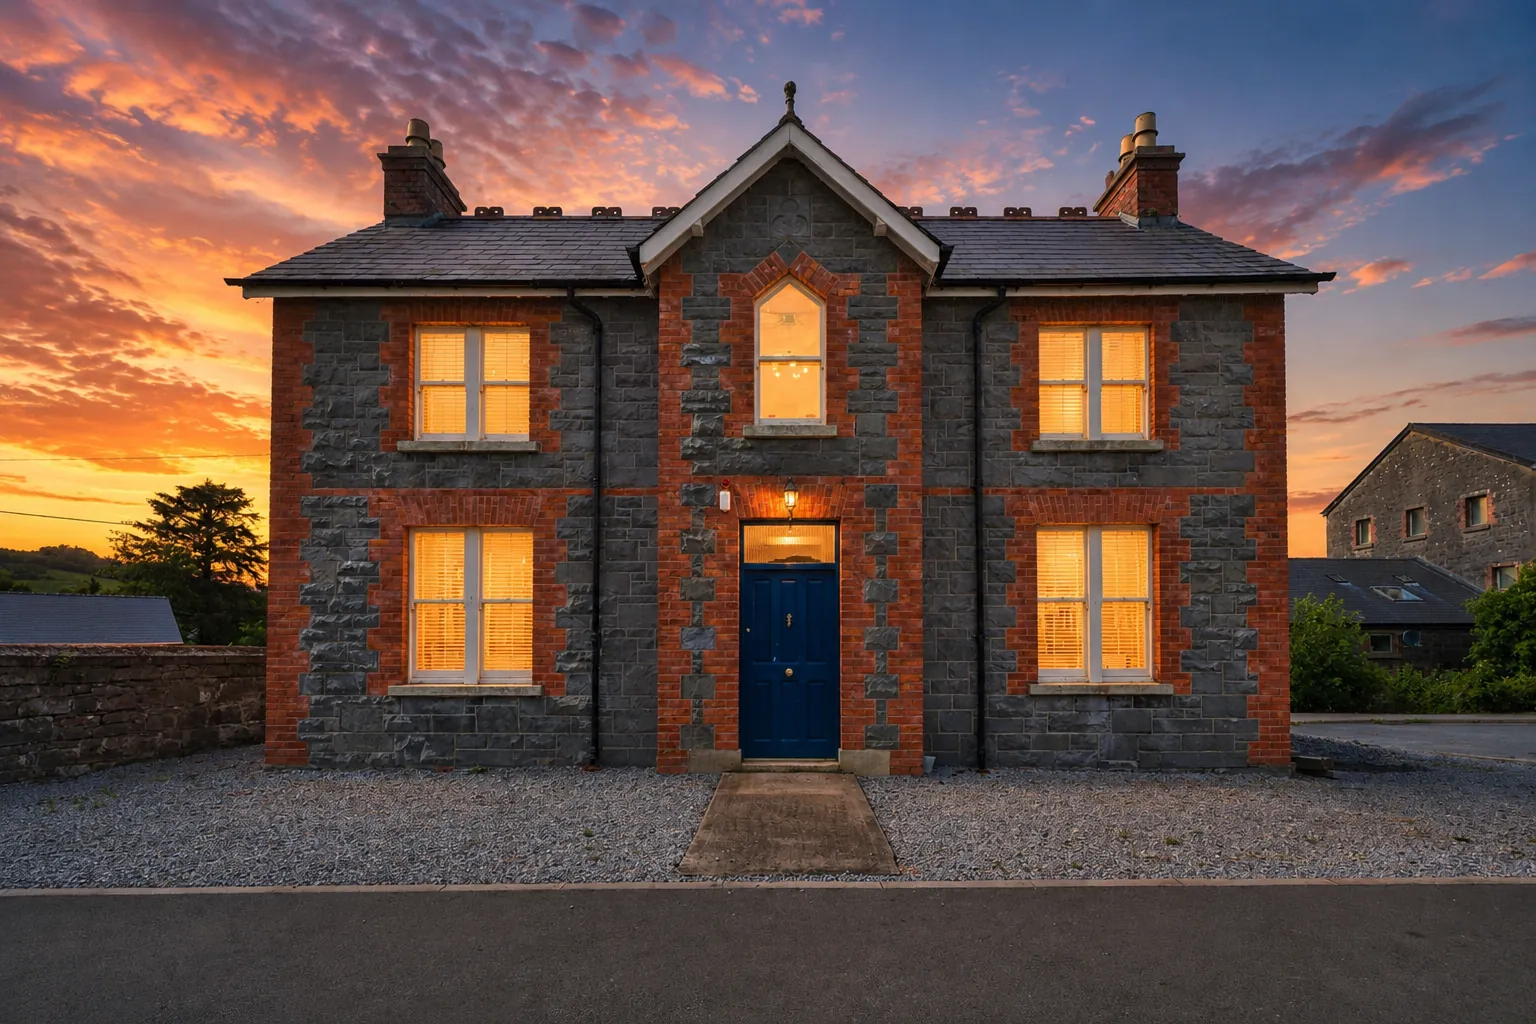
Property photographs do more than record the rooms. They give a buyer their first sense of light, layout, setting and everyday potential. A clear set of images helps the right person understand what makes a home worth seeing in person. A confusing set leaves them guessing, no matter how good the property may be.
These property photography tips focus on the work that matters before and during a shoot. The aim is not to make a home look like a show house. It is to remove distractions, choose the details that deserve attention and give the photographer a clean, honest starting point for a stronger listing.
Start with the story a buyer needs to understand
Before rearranging furniture, decide what the listing needs to communicate. A coastal cottage, family home, town apartment, country property and investment property all have different strengths. The useful question is not, "What can we photograph?" It is, "What will help the likely buyer understand why this home suits them?"
Talk through that question with the estate agent before the shoot. Identify the rooms that do the most work, the features that distinguish the property and the practical details a buyer will want to see. For one home, that may be a light-filled kitchen and a direct connection to the garden. For another, it may be a generous main bedroom, a flexible office, a view, a restored original feature or a clear sense of the grounds.
This early plan prevents a common problem: treating every room as though it needs the same effort and the same number of photographs. A buyer does not need a catalogue of walls. They need a coherent picture of how the home feels and functions. When the important rooms are clear, the rest of the listing can support that story instead of competing with it.
It also keeps the campaign truthful. Strong property photography should make the best real features easier to see. It should not rely on a narrow angle that hides the room, a heavy edit that changes the light beyond recognition or a styling choice that creates an expectation the property cannot meet at a viewing.
Before the shoot
Decide what the listing must show
- Identify the likely buyer and the home's strongest practical advantages.
- Choose the rooms, views and outdoor areas that explain those advantages.
- Plan the photography close enough to launch that the home still matches the listing.
- Confirm what information the estate agent needs for the completed advertising.
- Prepare the important spaces first, then work through the rest of the home.
Prepare the property, not just the frame
The camera records what is in front of it. The fastest way to improve property photographs is usually to remove the everyday items that obscure the room: charging cables, bags, paperwork, bins, pet supplies, cleaning products, drying racks, crowded shelves and surplus furniture. This is not about erasing every sign of life. It is about making the space itself the first thing a buyer notices.
Start with the places buyers compare most closely. Clear kitchen worktops, bathroom surfaces, hallways, bedside tables and window ledges. Put away personal photographs, valuable items and anything you would not want present during a viewing. Then look at the floor area. A generous room can feel cramped when its route is blocked by an occasional chair, a laundry basket or storage that has drifted into the corner.
Every room should have one understandable purpose. A spare bedroom used as an office, storage room and exercise space at the same time is hard to read online. Choose the most useful real role and make it obvious. The same principle applies to open-plan spaces. A simple dining area, seating area and kitchen zone make the layout easier to understand than a room crowded with objects that compete for attention.
For a deeper room-by-room plan, Avera Design International's home staging guide covers the preparation that helps rooms read clearly before photography and viewings. The important point is restraint. Buyers need enough detail to see a lived-in home, but enough clear space to imagine their own furniture, routines and belongings there.
Use light and flow to explain the space
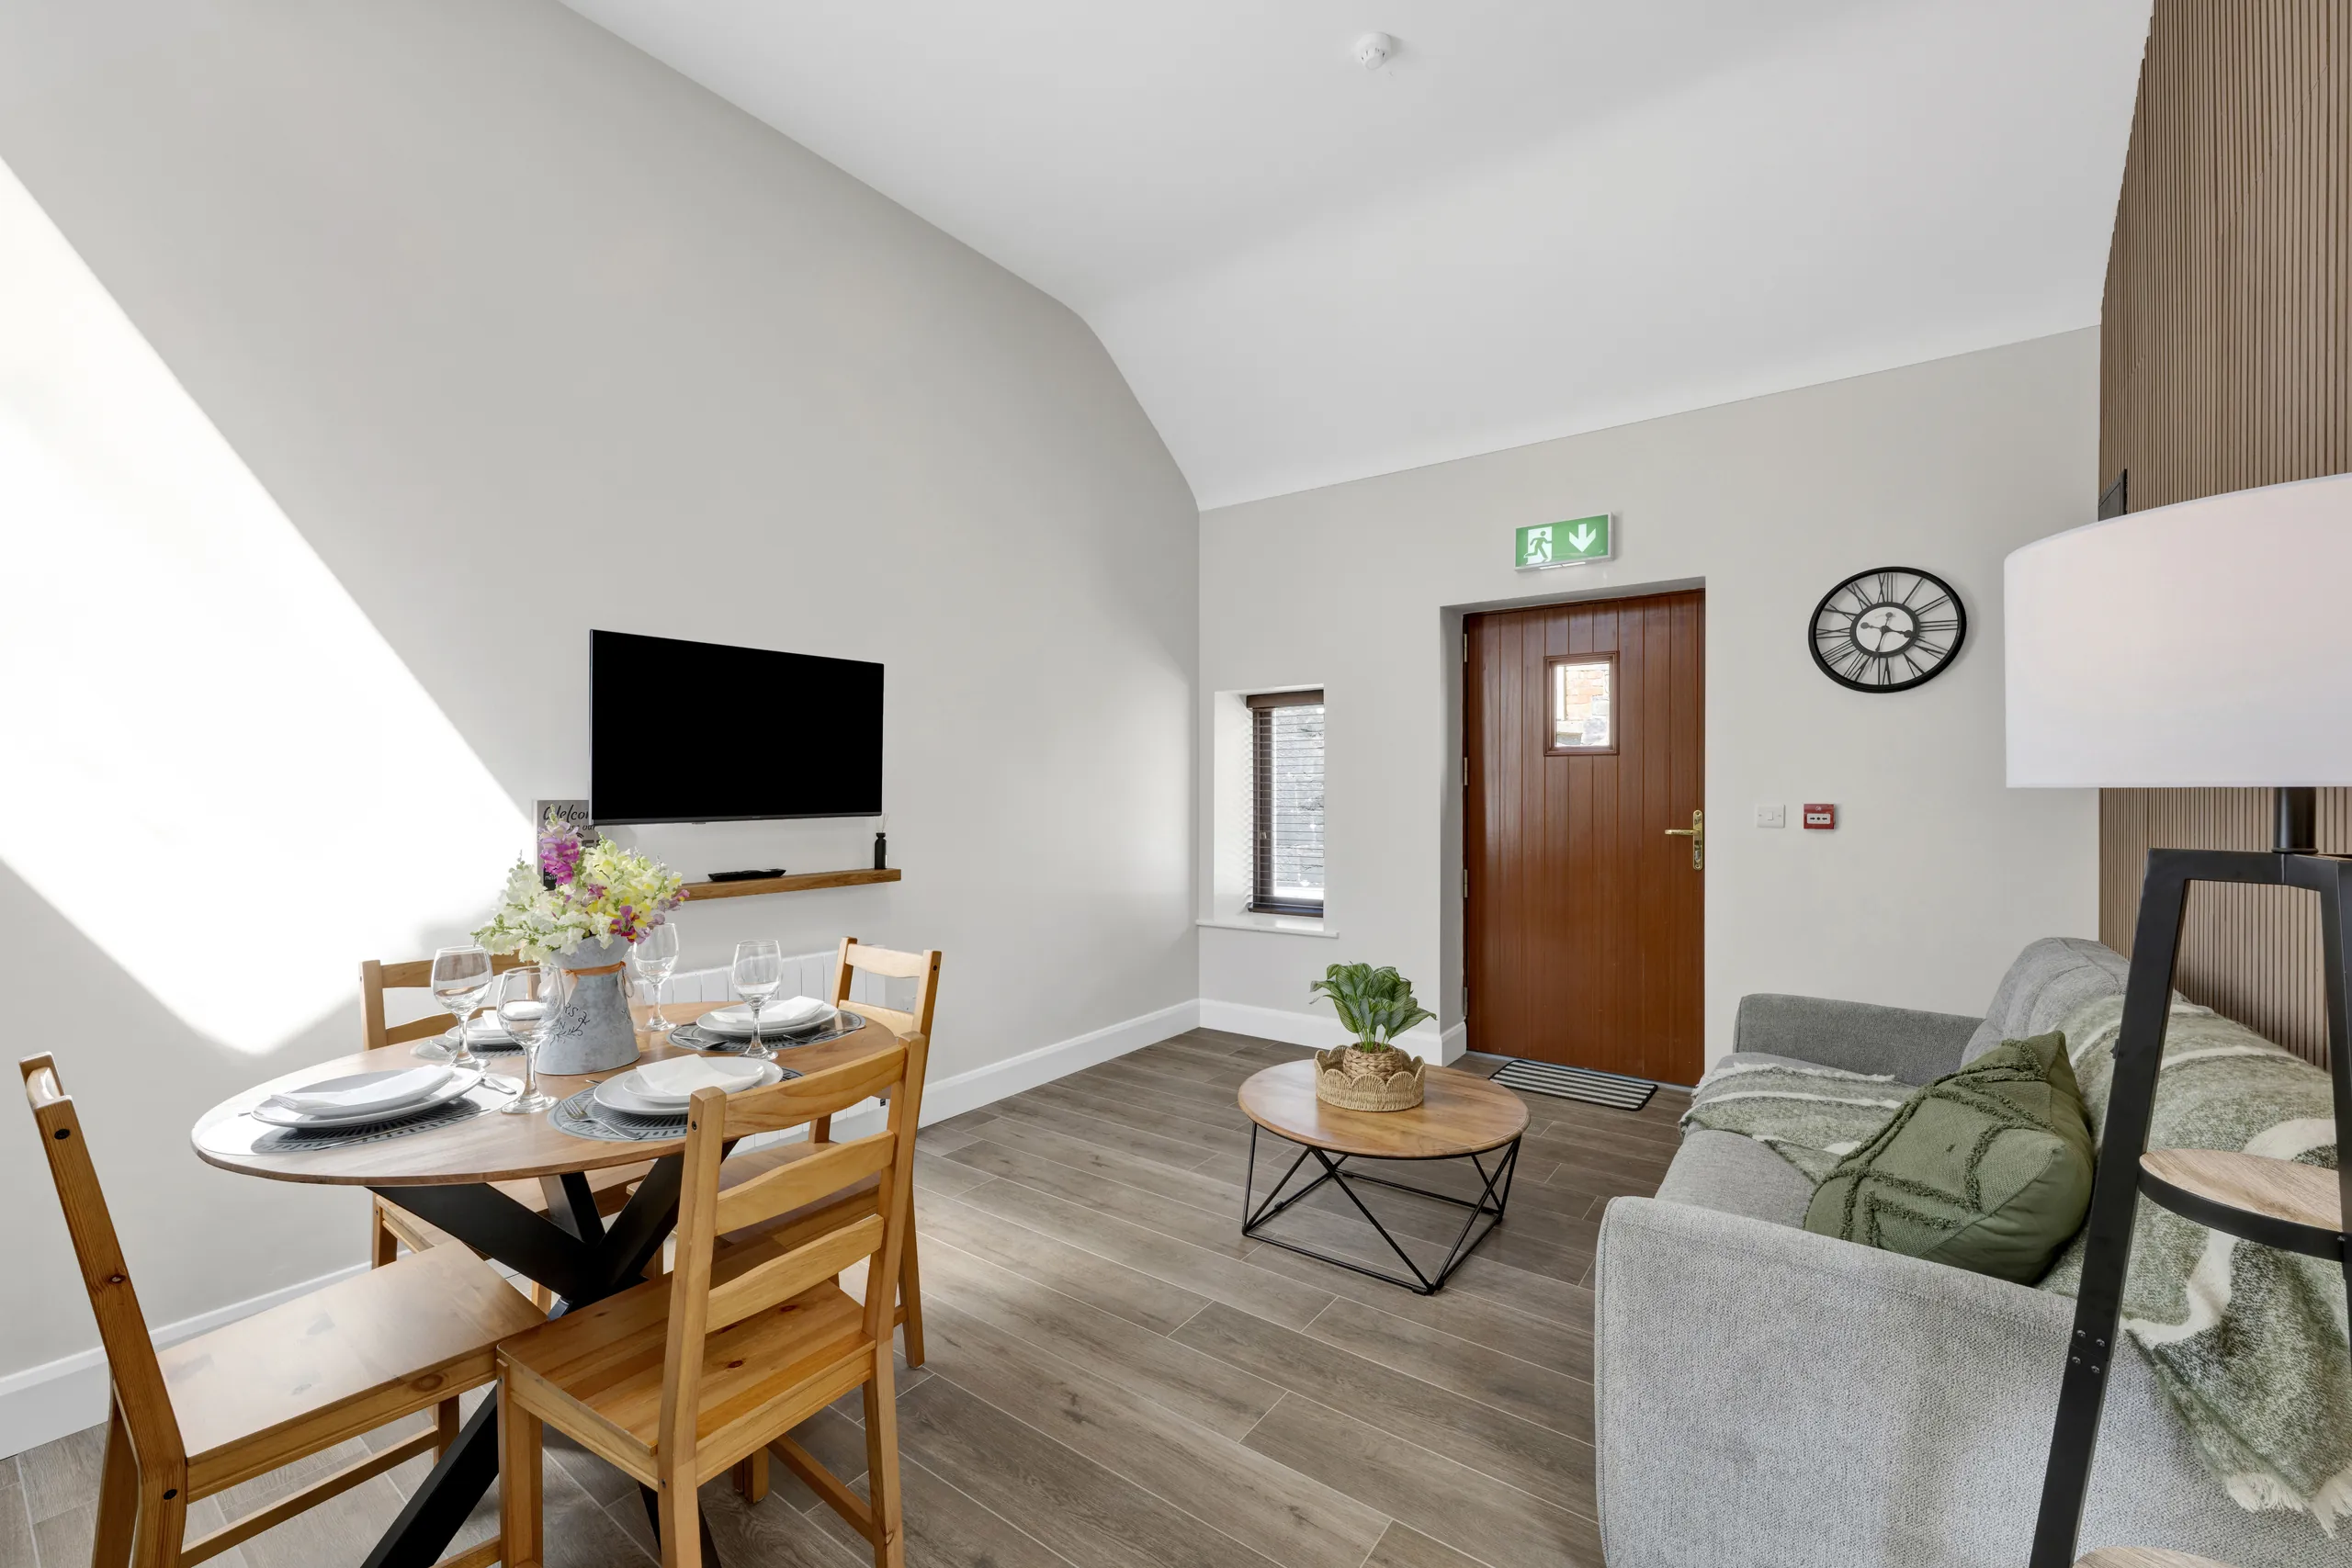
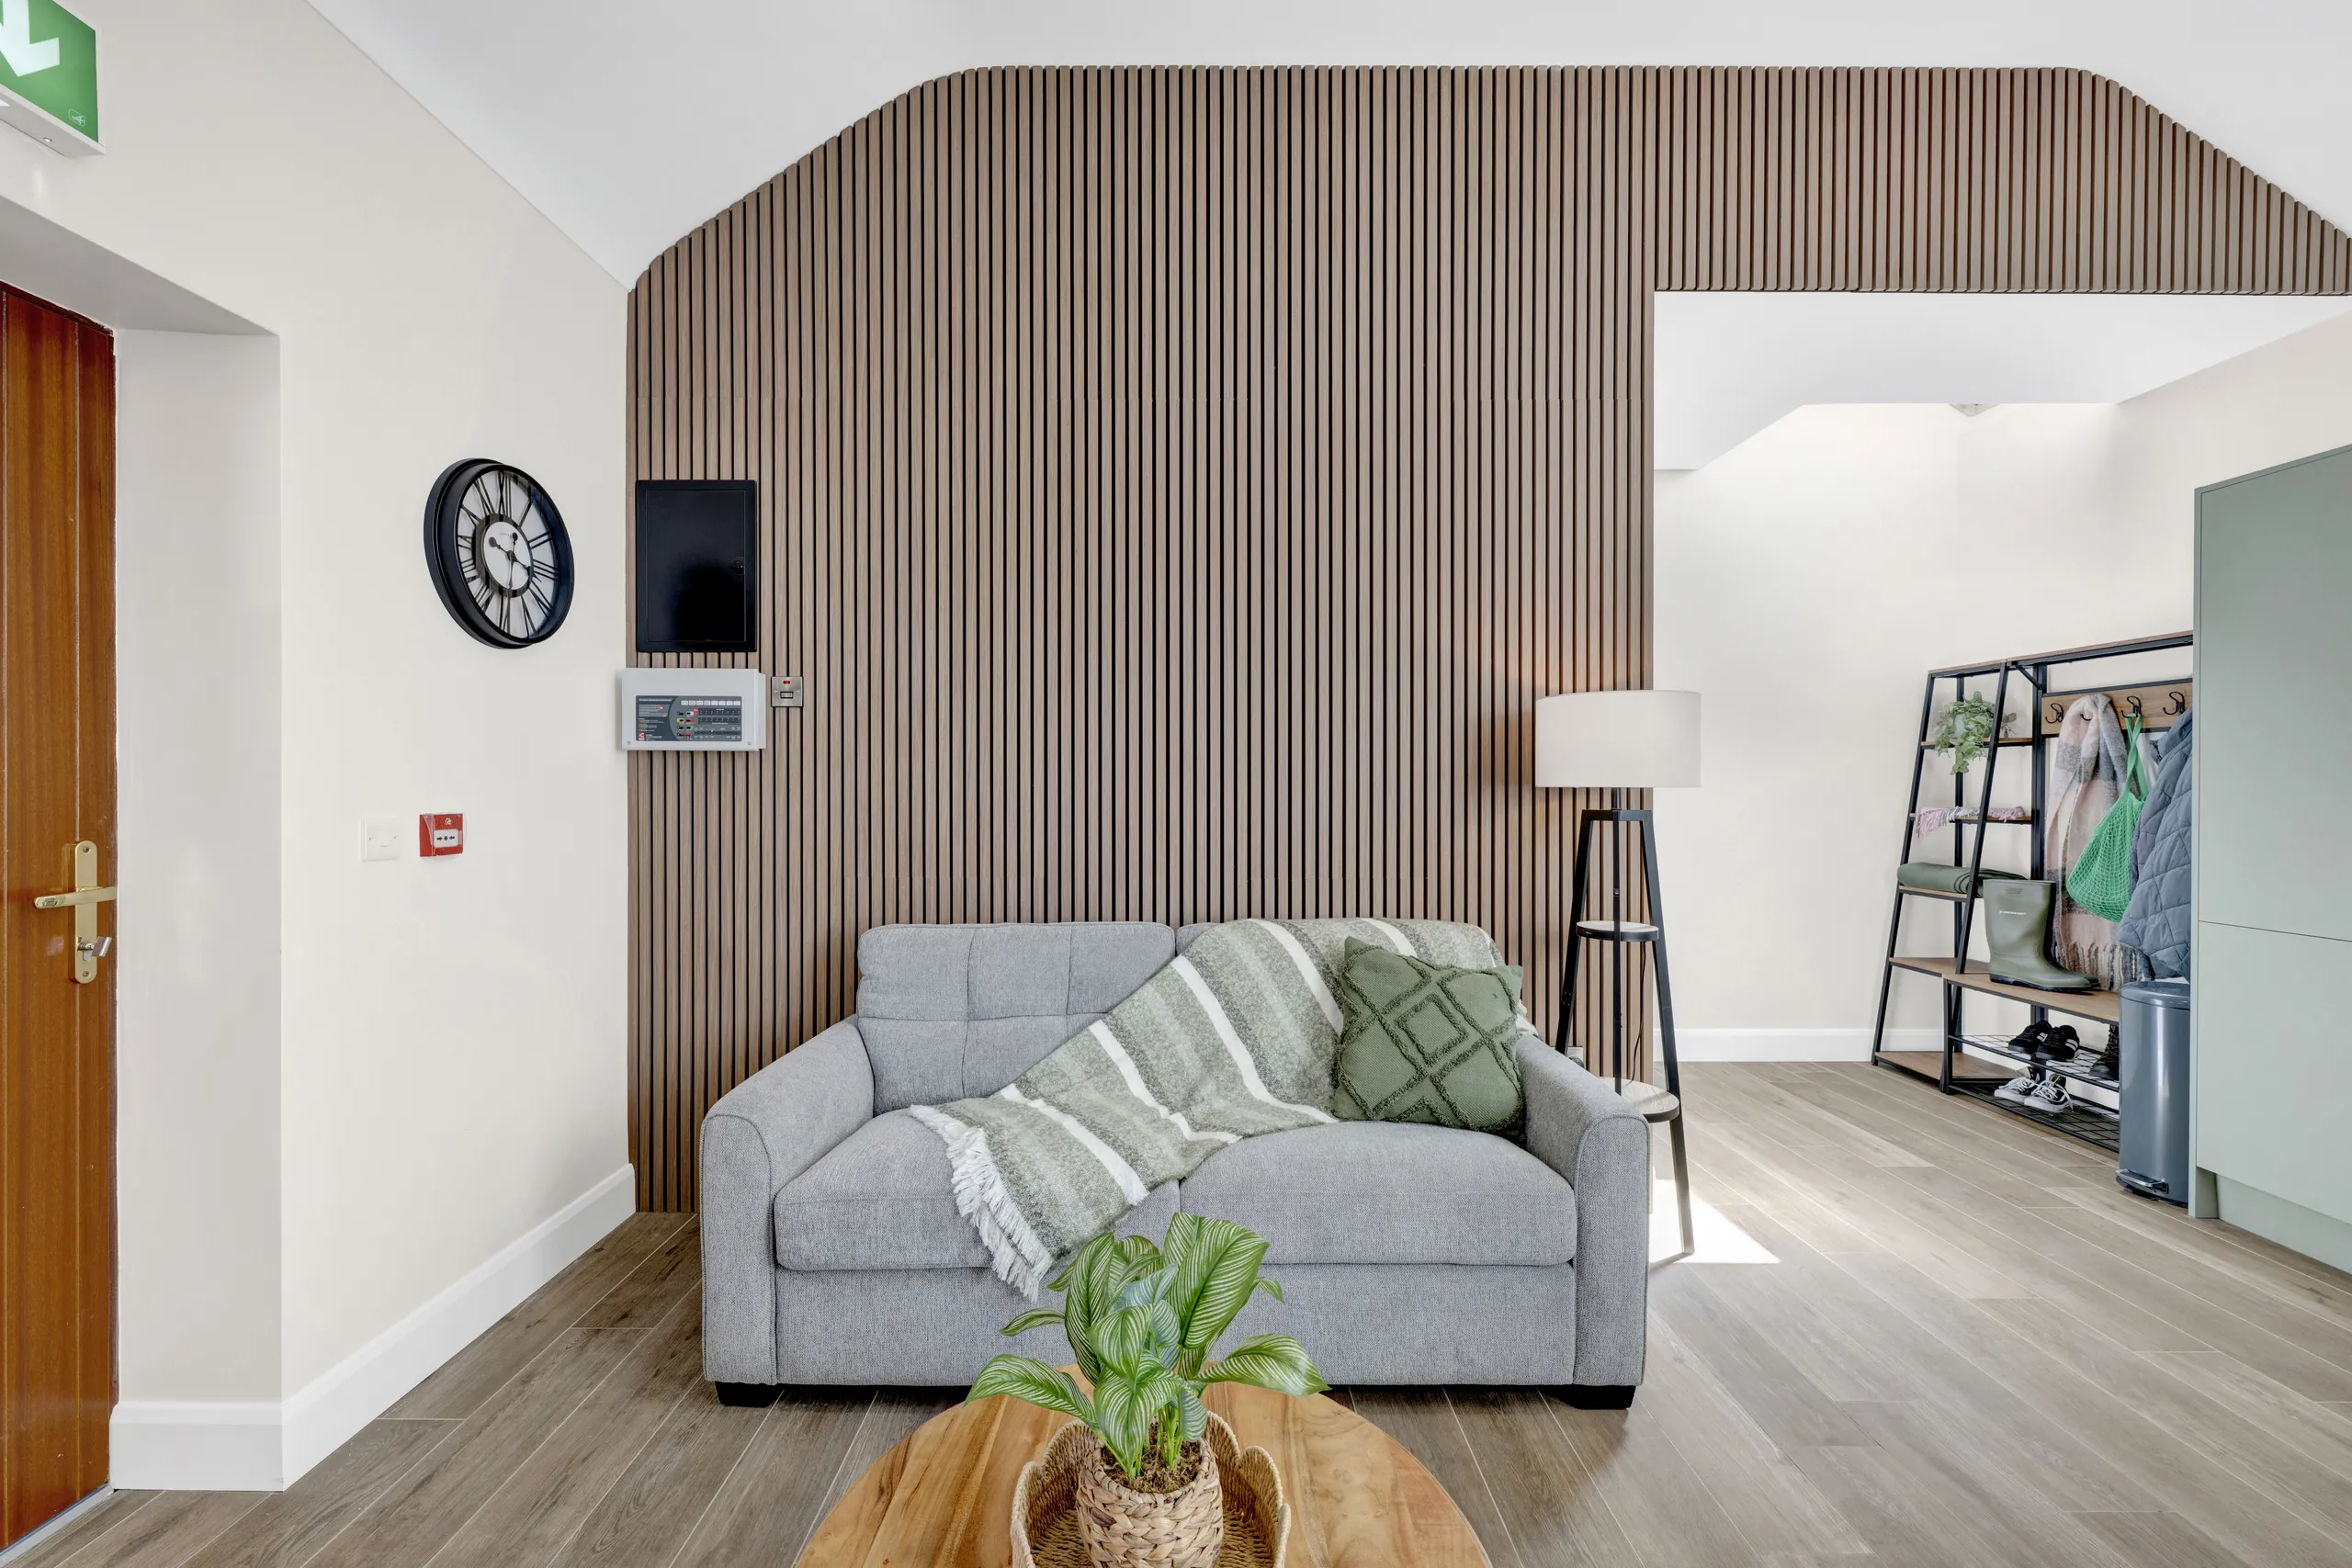
Good property photography starts with a home that is easy to move through and easy to see. Walk into each important room through the doorway and notice where your eye lands. Is it a view, a fireplace, a window, a useful kitchen island or a pile of things waiting to be dealt with? Clear the distraction before adding any styling.
Natural light is usually the best starting point. Clean the windows, open curtains fully, lift blinds and clear the sills. If there are lamps visible in the room, check that they work and that obviously different bulb colours are not fighting each other. A cloudy day is not automatically a problem. Soft daylight can be excellent for interiors because it is even and lets the room's actual colour and finish show more naturally.
Flow matters just as much. A photograph may show one room, but buyers are always trying to work out what comes next. Make sure doors, windows and useful sight lines are not blocked by clutter or oversized furniture. Where a kitchen opens to a dining area, or a sitting room opens to a garden, prepare both spaces together so the relationship between them is clear.
Furniture should establish scale rather than conceal it. A well-sized dining table can show that an open-plan area works for daily life. A made bed can help a buyer judge a bedroom. But an oversized sofa in the middle of a modest room or a cluster of small tables in every corner can make the available floor space disappear. Keep the pieces that make the room legible, then edit the rest.
Choose images that answer real buyer questions
Each image should earn its place by showing something new. The lead photograph should normally show a genuine strength, such as the exterior, a main living room, a kitchen, a view or the setting. It gives the buyer a reason to open the listing. The images that follow should help them understand the home in a natural order rather than forcing them to piece it together from repeated angles.
Think in questions. What does the home look like when you arrive? How does the main living space connect to the kitchen or garden? Are the bedrooms a practical size? Is there useful outdoor space, storage, parking, a view or an outbuilding? The best selection of photographs answers those questions without trying to prove that every square metre is equally important.
Some rooms need more care than others. Kitchens, main living spaces, bedrooms and bathrooms are often inspected closely because buyers can picture their day-to-day life there. Outdoor spaces matter where they add use, privacy, setting or a clear first arrival. Storage may be worth showing when it is generous or well planned. A packed under-stairs cupboard is not helping anyone simply because it is technically part of the house.
Keep the sequence calm. Three photographs of nearly the same sitting room do not give a buyer more confidence. One well-composed wide view, followed by a second image that shows the garden connection or a key feature, is often more useful. A professional property photography service is as much about choosing the right frames as taking them.
Give exterior photographs the same attention
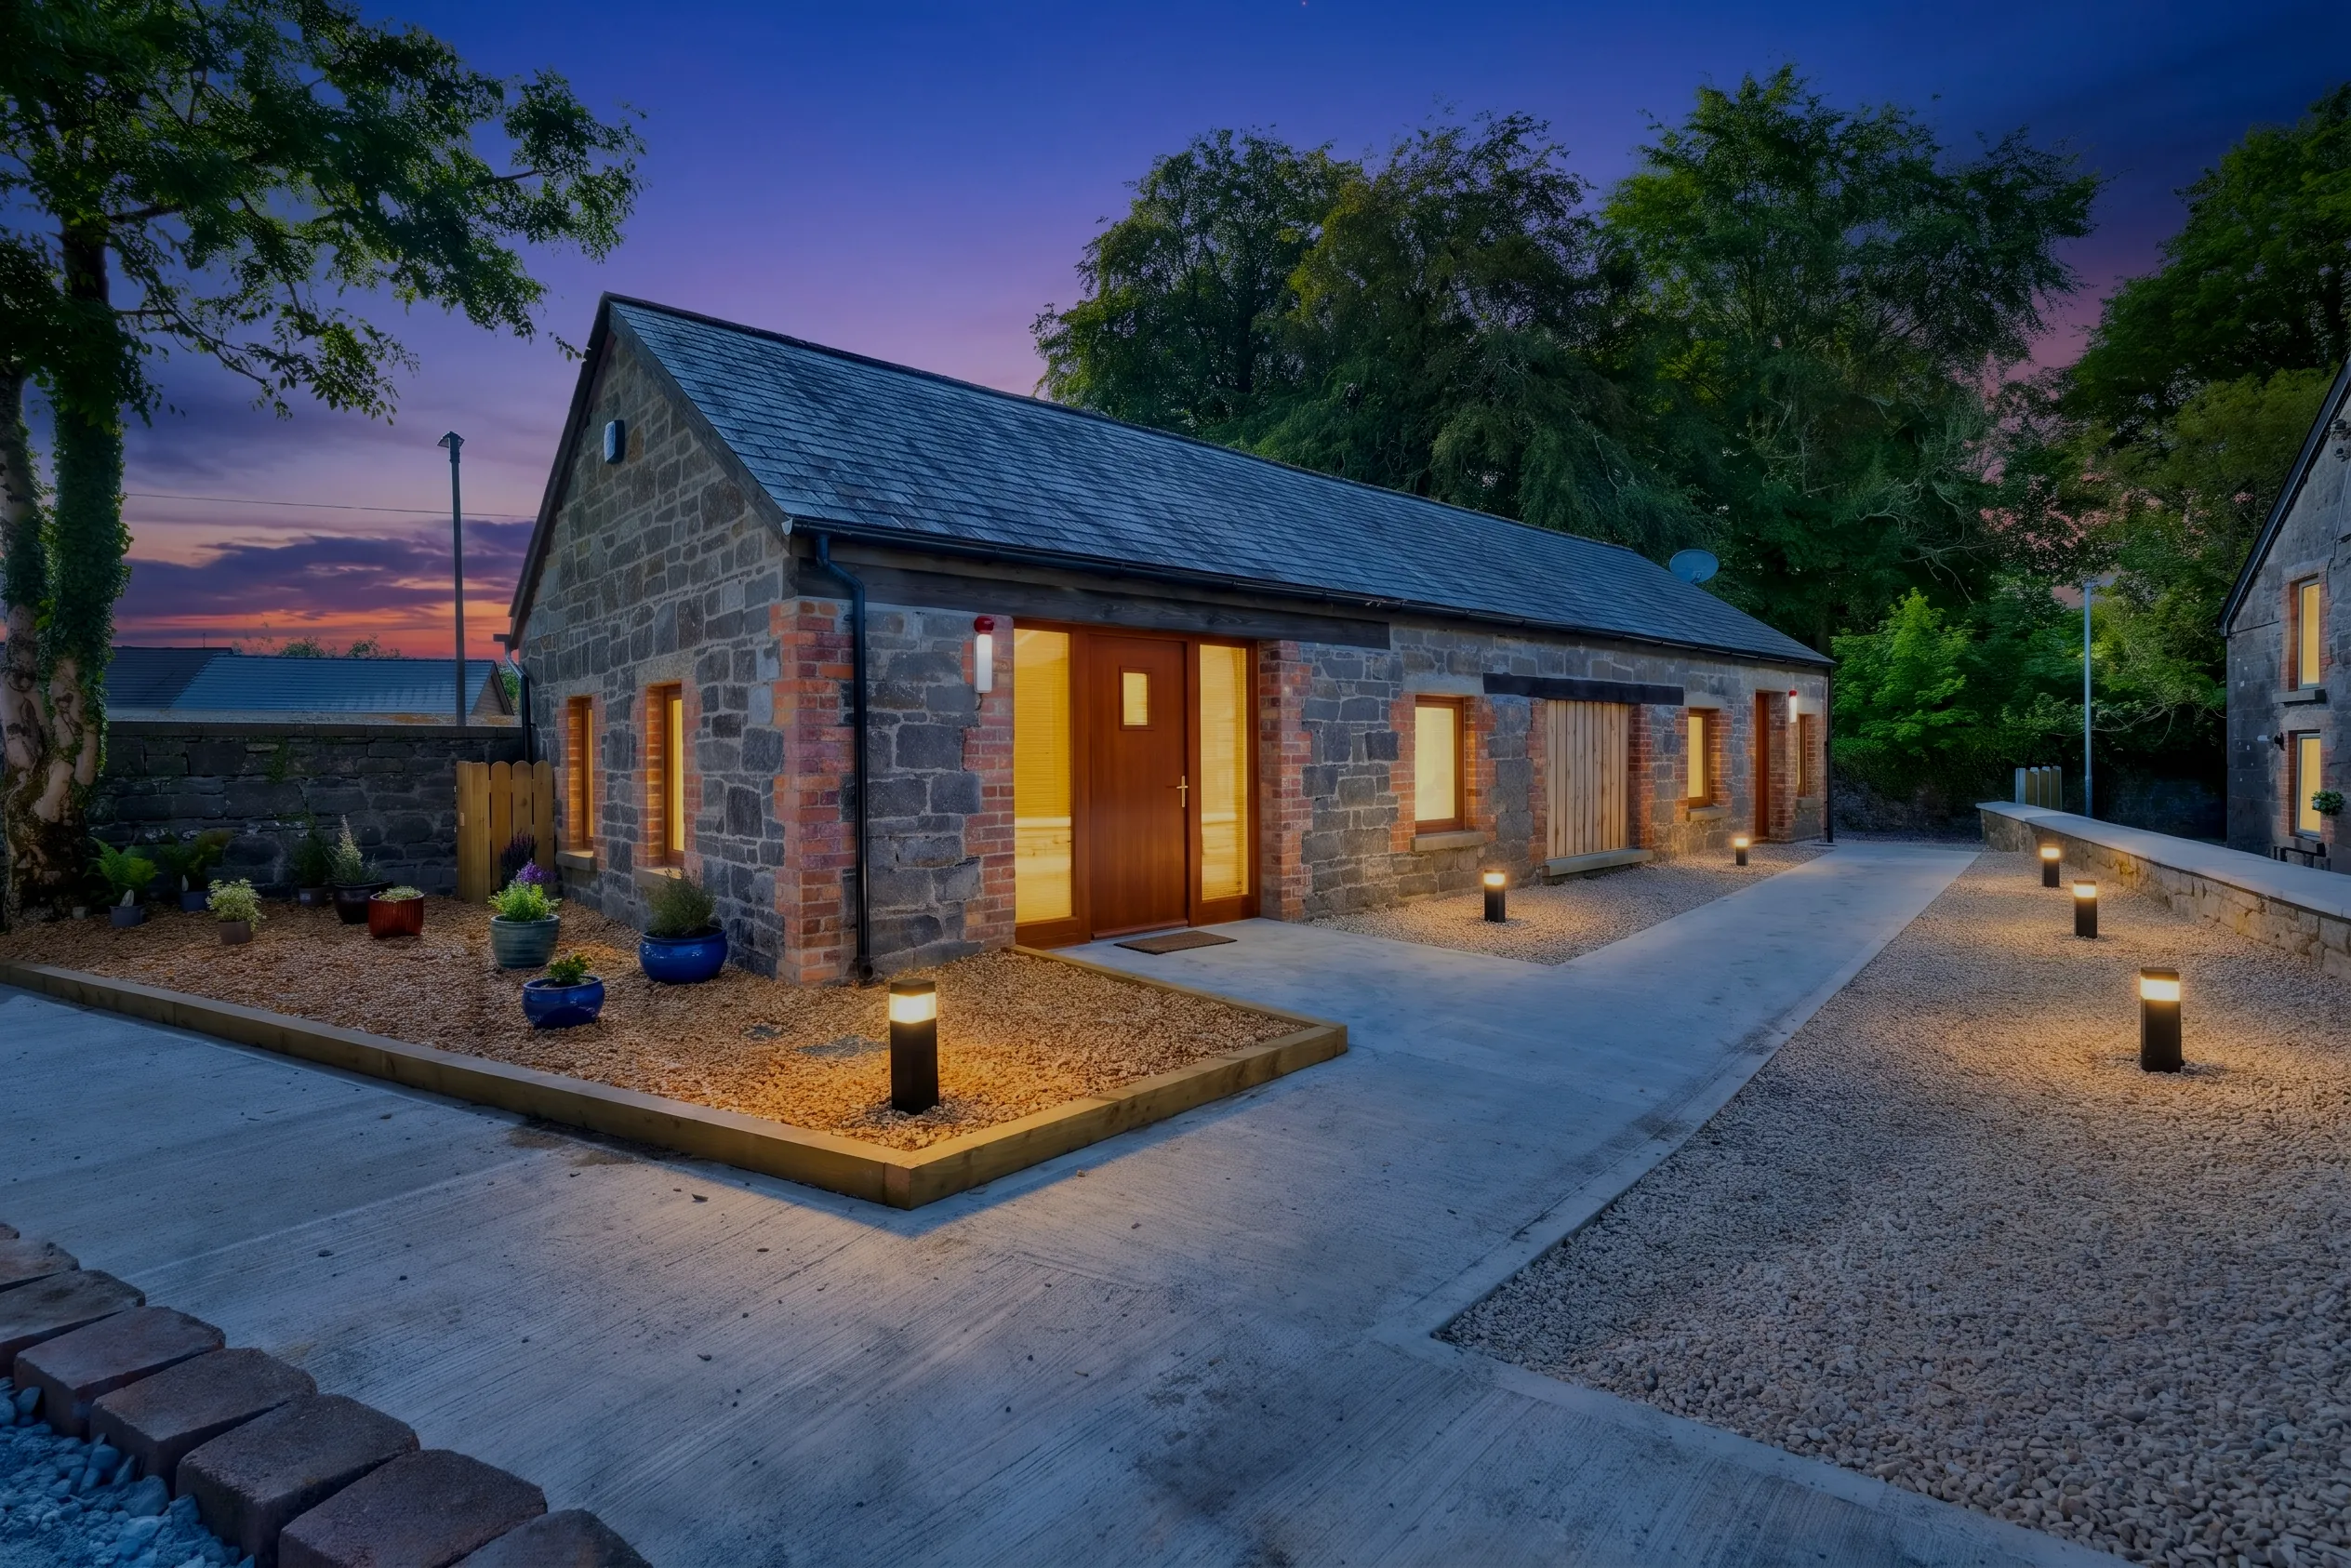
The first impression often begins before the buyer clicks into the listing. Walk from the road, driveway or parking area to the front door and look for the things that pull focus from the property: bins, hoses, loose tools, parked cars, broken pots, cluttered porches or overgrown planting that hides a useful window or path. A clean approach helps a buyer understand the arrival and suggests a home that has been cared for.
Then decide what the outside space needs to explain. A town terrace may need to show the entrance and rear courtyard clearly. A family home may need to show the garden, parking and indoor-outdoor connection. A rural property may need photographs that establish the setting, outbuildings, access or grounds. The goal is not to exaggerate the site. It is to give enough context that the buyer can see how the property sits in the world.
Timing can change an exterior photograph significantly. The direction of the sun, weather and the season all affect what a buyer can see. Work with the photographer and estate agent to choose a time that shows the property honestly and attractively. When the grounds, location or scale need a wider perspective, aerial media can help once it is available for the service. For now, strong ground-level images and a clear route through the exterior still do the essential work.
For a property with a distinctive setting, a cinematic property film can add the movement and atmosphere that still photography cannot show on its own. It should support the core image selection, not replace it. The photographs remain the quickest way for a buyer to understand the listing at a glance.
Keep the listing accurate and ready to launch
Presentation is most effective when the listing stays aligned with the real home. Avoid editing that changes the condition, removes a visible issue or makes a room appear much larger than it is. Wide views can be useful when used carefully, but a buyer should not arrive at a viewing feeling that the photographs created a different property.
Virtual staging can be helpful where an empty or awkward room needs a clearer purpose, but it should remain clearly identified and should never change the structural reality of the home. Avera Design International's virtual staging guide explains when it can help and where it crosses the line from useful explanation into an inaccurate promise.
The details around the photographs also need to be ready. In Ireland, the SEAI requires BER information in advertisements for properties offered for sale or rent. Confirm that information with the estate agent before launch rather than trying to add it after the images and listing copy are finished. A current BER certificate is compulsory for homes available for sale or rent.
It is also sensible to check that the estate agent is authorised to provide the right service. The PSRA register of licensed property services providers lets consumers verify licensed providers in Ireland. That check belongs in the sale plan, alongside choosing the visual approach and setting a realistic launch date.
Make the photography day run smoothly
A calm shoot produces better decisions. Set aside one cupboard, storage box or car boot for the last-minute items that tend to return to visible surfaces: coats, keys, remotes, pet supplies, laundry, paperwork and cleaning products. That gives you one quick reset point rather than moving clutter from one room to another as the photographer works.
Open blinds, clear the entrance, check that the lights are working and give the photographer room to move through the property. Where possible, arrange for people and pets to be elsewhere during the appointment. The session will be calmer, and it will be easier to keep the rooms ready as the photographer moves between them.
Do not try to direct every angle from behind the camera. A good photographer will notice the practical details that create a useful listing: which view explains the room, where the light is best, how one space connects to another and which detail is more valuable than an additional wide shot. Your role is to prepare the property and share the sale plan. Their role is to translate that into images that help buyers understand it.
For larger homes or layouts that need more context, a Matterport 3D tour can give serious buyers a room-to-room view after the photographs have earned their attention. Avera Design International can also bring photography, film, virtual staging and campaign material together through its property marketing work when a listing needs a more complete visual plan.
Final check
Before the camera arrives
- Clear floors, counters, tables and window ledges in the key rooms.
- Put away personal items, pet supplies, bins, cables and paperwork.
- Open curtains and blinds, clean windows and check visible lights.
- Make beds, refresh towels and give each room one clear purpose.
- Sweep the approach, parking area and outdoor paths.
- Keep one hidden place for the last-minute items.
- Confirm that the listing information and BER details are ready for launch.
How Avera Design International Helps Listings Make Sense at a Glance
Avera Design International plans property photography, cinematic video, 3D tours and virtual staging around the parts of a home that a buyer needs to understand. The approach starts with the real setting, layout and character of the property, then adds only the media that gives the listing more clarity.
For sellers and estate agents, a prepared home and a clear visual brief give every image more value. Request a shoot when you are ready to plan the next listing.
Frequently asked questions
What should I do before property photographs are taken?
Start by clearing the rooms that will carry the listing, especially the entrance, kitchen, main living space, bedrooms, bathrooms and best outdoor area. Then clean windows and reflective surfaces, check lighting, remove personal items and give each room a clear purpose. The goal is to make the real space easy to understand, not to make it look unlike the home a buyer will visit.
How many photos should a property listing have?
There is no useful fixed number. A listing needs enough images to explain the home's strongest rooms, layout, setting and important practical features without repeating the same view. A professional photographer and estate agent can choose the right balance based on the size and character of the property.
Should I take photos of every room when selling a house?
Photograph the rooms and features that help a buyer understand how the home works. A clear kitchen, main living space, bedrooms, bathrooms, useful storage, garden or setting may all be relevant. A cramped cupboard or repetitive angle does not need to appear simply because it exists.
Can property photography make a small room look bigger?
Good photography can help a buyer judge a room more clearly by using a sensible angle, clean sight lines and furniture that shows scale. It should not rely on misleading distortion or hide the room's real proportions. Trust is more valuable than a photograph that creates the wrong expectation.